Please note that your subscription plan determines the specific set of features available to you, which may result in differences between what you see and the images presented in this article. For further details on the features included in your plan, please contact your OfficeSpace Admin.
By integrating your employee badge system with OfficeSpace, you can see detailed information about the utilization of seats on your floor plan, which will allow you to make sure that your seats and floor space are used as efficiently as possible.
You must be a System Admin to configure Access Control Integrations. All CSV files must be in UTF-8 encoding to be processed by OfficeSpace.
Navigating to Access Control IntegrationsConfiguring General SettingsUploading Your Sample FileMapping Your FieldsUploading Your CSV FileVideo: Configuring Your Data
Navigating to Access Control Integrations
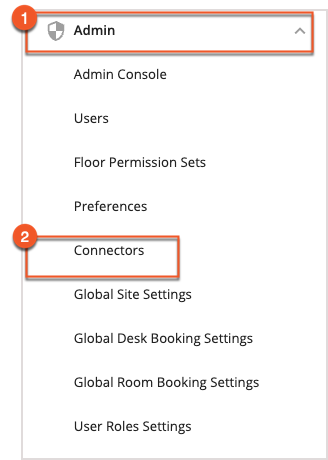
This integration is part of Access Control Integrations under Admin. To access this area, open the Hamburger menu. Under
Admin (1), select
Connectors (2).
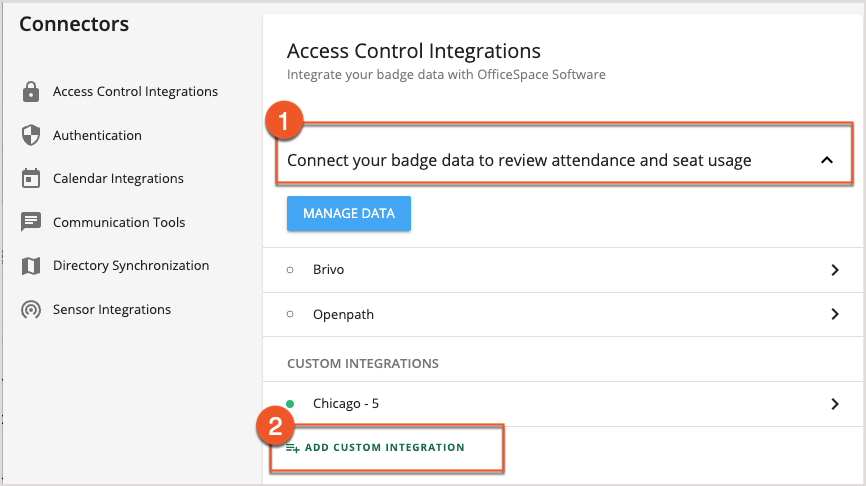
Under Access Control Integrations, you should see a menu called
Connect your badge data to review attendance and seat usage (1). Select this menu to expand it, and then select
Add Custom Integration (2) to begin setting up your badge integration.
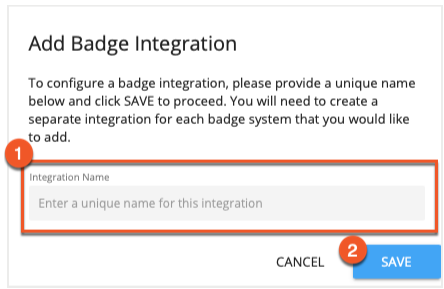
You'll be asked to provide a unique name for this integration in the
Integration Name field (1). Once you have provided a name, select
Save (2) to continue.
Configuring General Settings
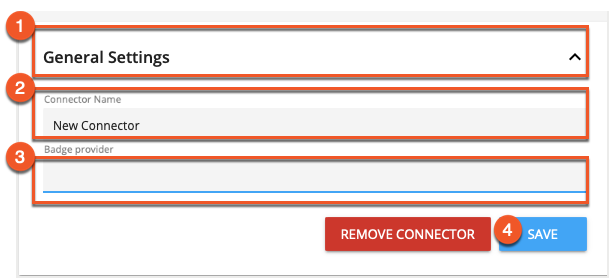
You'll be presented with the setup panel for your integration. The General Settings panel (1) allows you to change the Connector Name (2) and to name the Badge provider (3) associated with this connector. To update this information, make your changes and select Save (4).
Uploading Your Sample File
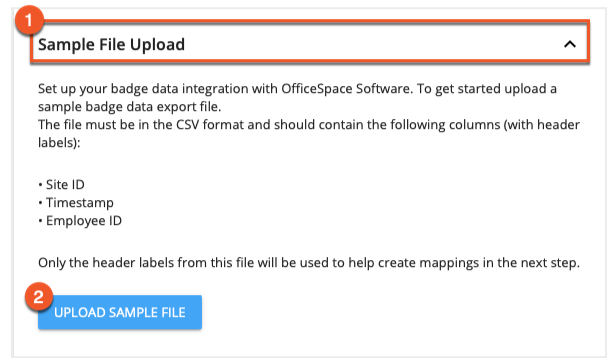
The Sample File Upload menu (1) requires you to upload a CSV file with column headers only, so that OfficeSpace can recognize the data that it will receive later. The columns required in this file, in order, are Site ID, TimeStamp, and Employee ID. To upload a sample file, select Upload Sample File (2).
If you have already uploaded a sample file previously, the details of the file will be shown and the button will be labeled "Change Sample File" instead.
Mapping Your Fields
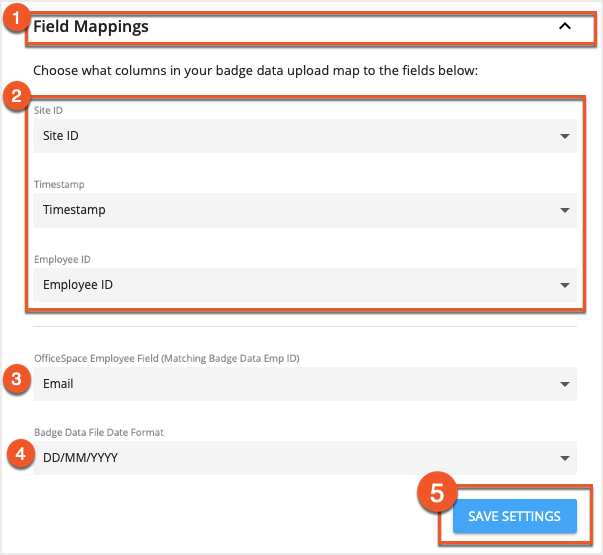
After your sample file is uploaded, you'll need to map the fields using the Field Mappings panel (1).
Select each field in your CSV file from the Field Mappings dropdowns (2). In addition to the Site ID, Timestamp, and Employee ID fields, you must select a field that will contain the identification data (3) that matches the employee's ID in the badge data being sent to OfficeSpace, and the date format (4) that your badging data will use.
If you have opened your CSV file in Excel before uploading, you must choose a date format that has a two-digit year (for example, DD/MM/YY), as Excel automatically converts four-digit years to two-digit years. Choosing a four-digit format (such as YYYYMMDD) in this circumstance will result in incorrect interpretation of your data.
The following date formats are acceptable:
- DD/MM/YYYY
- MM/DD/YYYY
- YYYY-MM-DD
- YYYYMMDD
- DD/MM/YY
- MM/DD/YY
OfficeSpace will also automatically convert a full ISO 8601 date/time stamp to a usable format.
If your User ID field contains numbers instead of text, please see Mapping Numerical User IDs before continuing.
When you have selected all of your fields and date format from the dropdown menus, select Save Settings (5).
The Site ID Mapping panel (1) allows you to tell OfficeSpace which sites are referenced by the site IDs in your badge data CSV file when uploaded. You must enter an ID for each site in its respective field (2). When you have done so, select Save Settings (3).
You are also able to map multiple Site IDs to a single site in OSS. Enter each Site ID, separated by a comma, into the Site ID field for that particular site. Once you have mapped all of your Site IDs, you can upload your CSV file.

Mapping Numerical User IDs
OfficeSpace recommends that you use names or email addresses as user IDs. If your organization uses numerical IDs that contain preceding zeroes, you'll need to make sure that Excel keeps them in the right format.
Importing Your Data into Excel
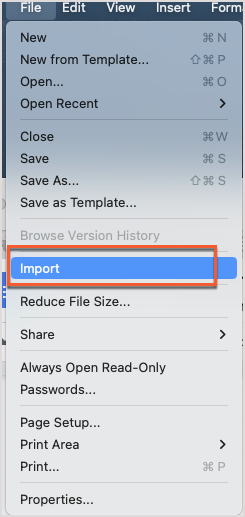
With a blank spreadsheet open in Excel, select
Import from the File menu.
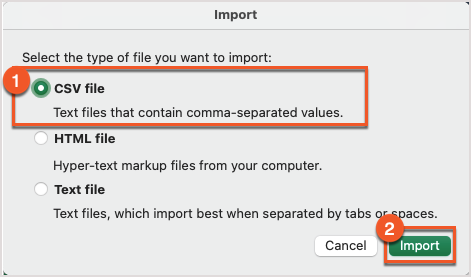
Select
CSV file (1) as the data type, followed by
Import (2).
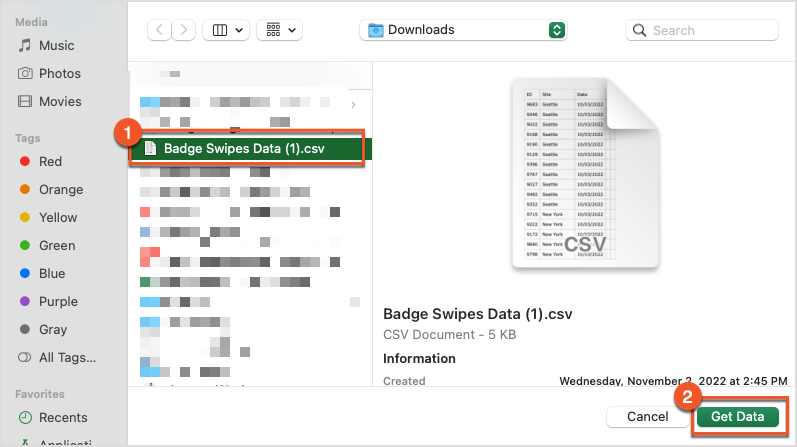
Choose your
CSV file (1) and then select
Get Data (2).
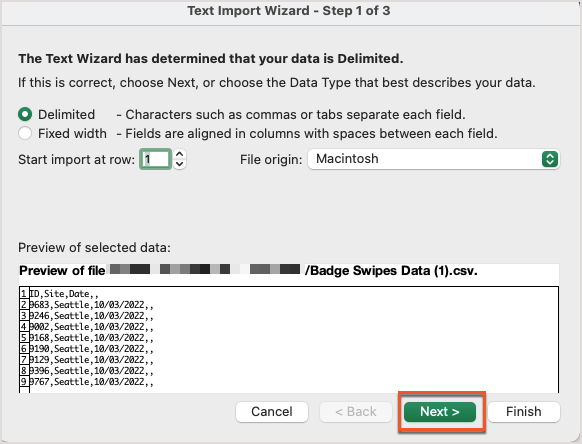
As the import wizard will note that your file is delimited, simply select
Next to proceed.
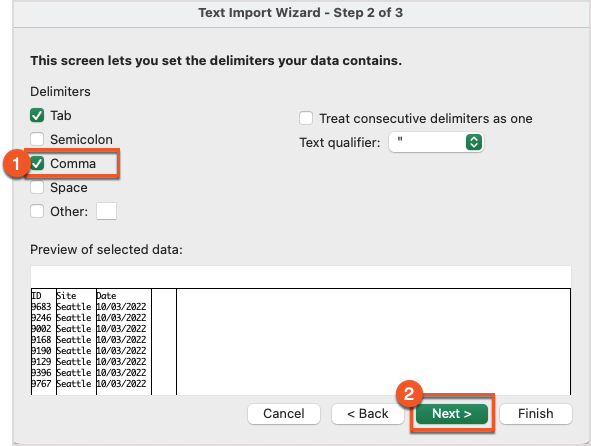
You'll need to choose your
delimiter(s) (1). Generally most CSVs are comma-separated, and so selecting Comma should separate your data into the appropriate columns. If your document is using a different delimiter, such as a semicolon, select that delimiter instead.
Select
Next (2) to continue.
Select the column in the preview that contains your
Employee ID numbers (1). Switch the
Column Date Format to Text (2) and then hit
Finish (3). Excel will now retain any preceding zeros in your data.

Now that the data is accurate, save it as a CSV file and import it into OfficeSpace by following the rest of the steps.
Uploading Your CSV File
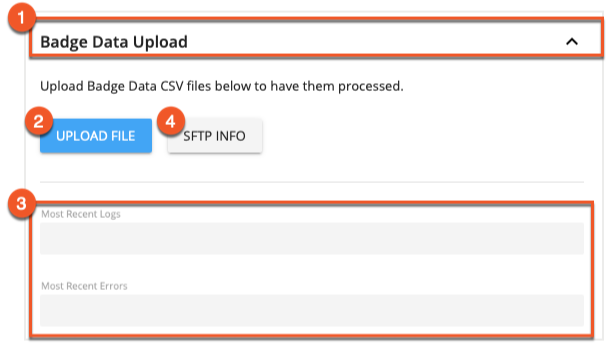
Finally, you can upload your CSV file with all of the data in the Badge Data Upload panel (1). Select the Upload FIle button (2) to be presented with a file selection dialog and choose a CSV file to upload. The Most Recent Logs and Most Recent Errors fields (3) will display the most recent log file and errors generated, when that data is available.
If you would like to set up an automated SFTP process to upload badge data, select SFTP Info (4) for information on how you should prefix your filenames, and where you should upload your files to, based on your connector and domain.
Video: Configuring Your Data
If you'd like to learn more about configuring your data for upload, and see a walkthrough of the upload process, please see the following video.

