Please note that your subscription plan determines the specific set of features available to you, which may result in differences between what you see and the images presented in this article. For further details on the features included in your plan, please contact your OfficeSpace Admin.
With email notifications, you can schedule emails to be sent to employees that need to be notified about a move. Email notifications can be created and managed in
Preferences.
Creating an Email TemplateEditing an Email TemplateDeleting an Email Template
Creating an Email Template
To create a new email template, select
Create New.
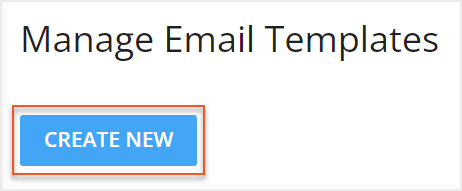
The Creating Email Template field then opens. Enter your desired
Template Name (1) and
Description (2).

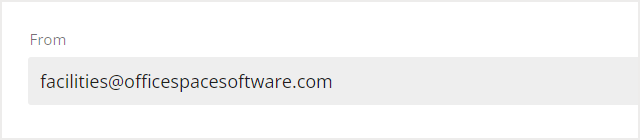
In the From field, enter the email address from which you would like the notification emails to be sent.
Next, use the
To field (1) and the
Subject field (2) to enter the email address that will receive the email notification and the subject of the email notification. You can right-click in these two fields to choose a variable from the available list. The variable will be translated at the delivery time of the email and OfficeSpace will automatically fill in these fields with the appropriate information.

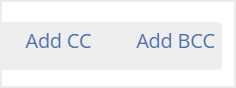
You can use the
Add CC and
Add BCC buttons to CC or BCC the email notification to additional emails. OfficeSpace does not store a record of your sent email notifications, so we recommend that you CC your desired email address to receive a copy of all email notifications.
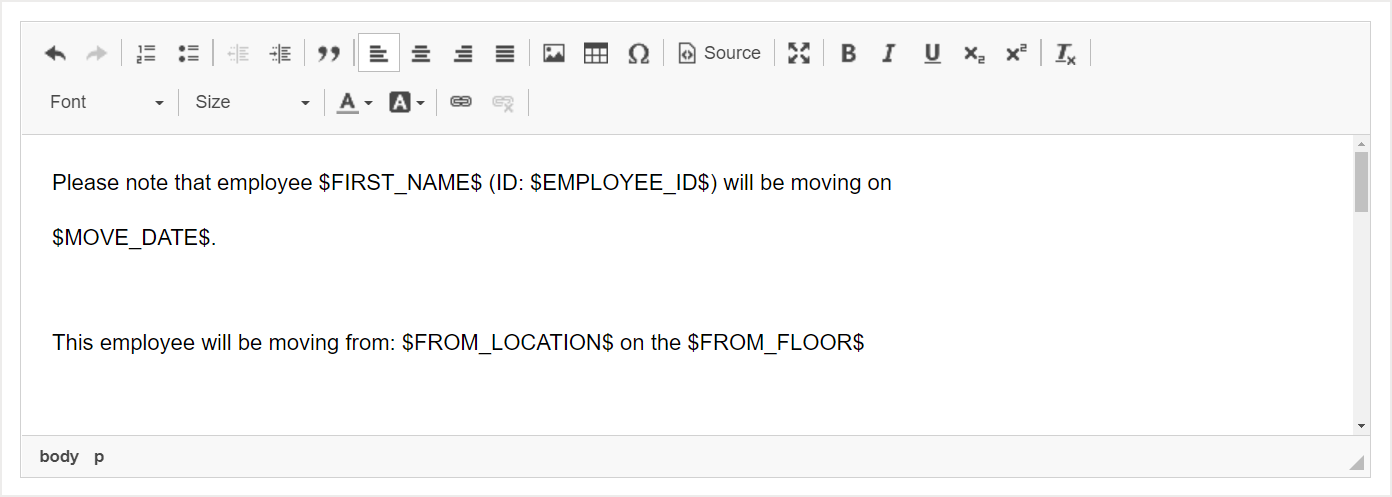
Use the
text field to enter the body of your email notification. You can also right-click to add variables in the text field. Check out the
Email Notification Templates article for some general email templates.
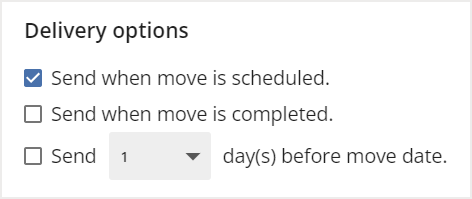
Then, select your
Delivery options. Using the checkboxes, you can choose whether the email notification will be sent when the move is scheduled or when the move is completed. You can also choose to send the email notification up to 14 days before the move date.
After you have entered your desired details, select
Save to save your new email template.

Editing an Email Template
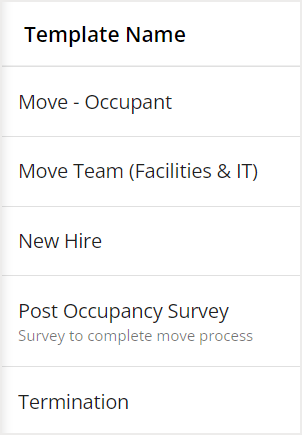
To edit an email template, locate and select the desired template under the
Template Name column.
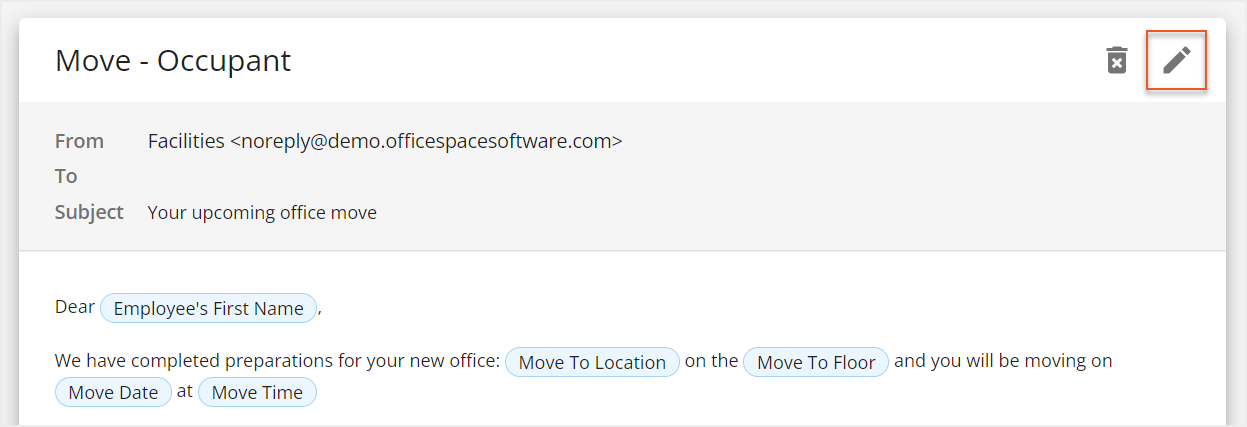
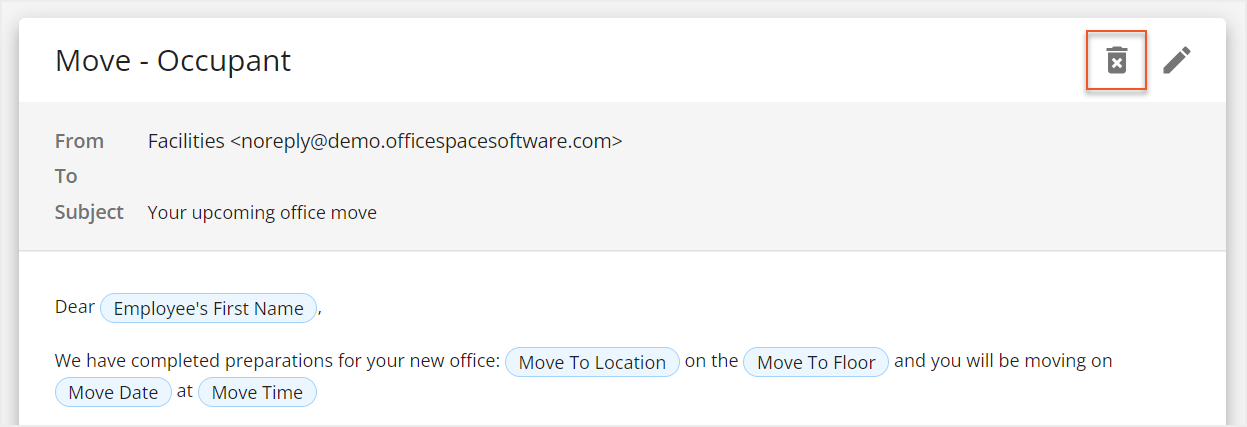
Then, select the
edit icon in the top-right corner of the template.
The Editing Email Template field then opens. Using the fields, make your desired changes. Then select
Save to save your changes.
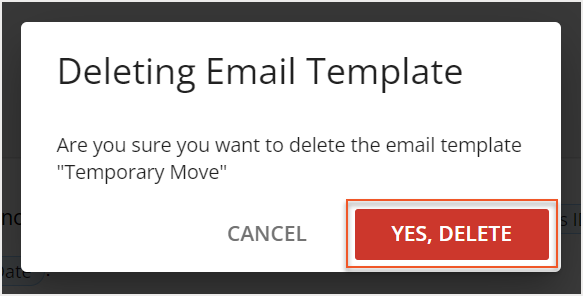
Deleting an Email Template
To delete an email template, locate and select the desired template under the
Template Name column.
Then, select the
delete icon in the top-right corner of the template.
The Deleting Email Template screen then opens. Select
Yes, Delete to confirm that you want to delete the email template.