Please note that your subscription plan determines the specific set of features available to you, which may result in differences between what you see and the images presented in this article. For further details on the features included in your plan, please contact your OfficeSpace Admin.
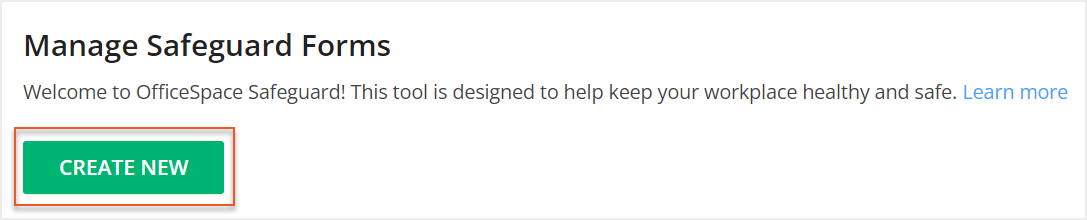
Safeguard helps you provide a safe environment as you bring employees back to the office by offering customizable forms to screen for health risk factors. You can create a new Safeguard form on the
Manage Safeguard Forms screen.
In Manage Safeguard Forms, select
Create New.
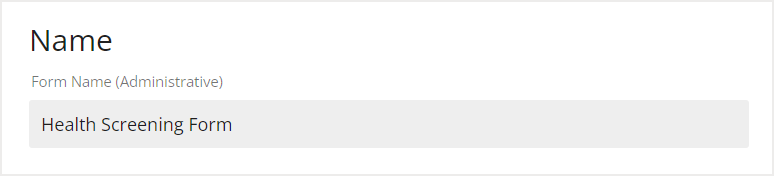
In the Name field, enter the name of your new form. This field is only visible to administrative users in the Manage Safeguard Forms screen.
Select the type of form you would like to create. You can either Design a form in
OfficeSpace (1) or
Link to an existing external form (2).
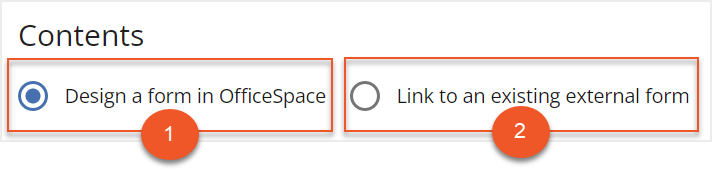
If you'd like to link Safeguard to an existing external form, you will need to enter the URL of the form you're linking in the Introductory Text field. To learn how to get results from your external form back into OfficeSpace, contact our Support Team.
Enter a
Form Title (1) and a
Form Introduction (2) in their respective fields. These fields are visible to an employee completing the form. You can use the introductory text to provide relevant instructions for completing the form.

Then select
Add Question to add a new question to your form.
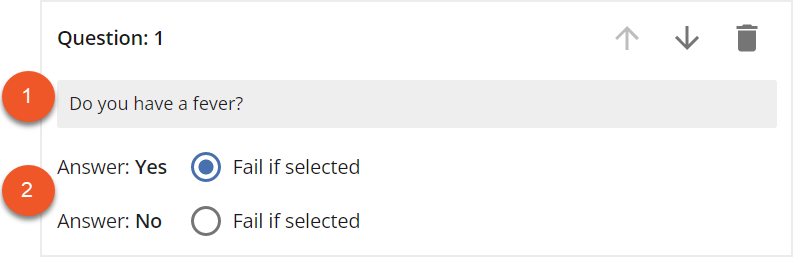
Enter your desired question in the
Question field (1). Safeguard forms are designed for questions that can be answered with Yes or No. After you enter a question, use the
Answer selection (2) to determine whether an employee will fail the question by answering Yes or by answering No. To add additional questions, select Add Question again.
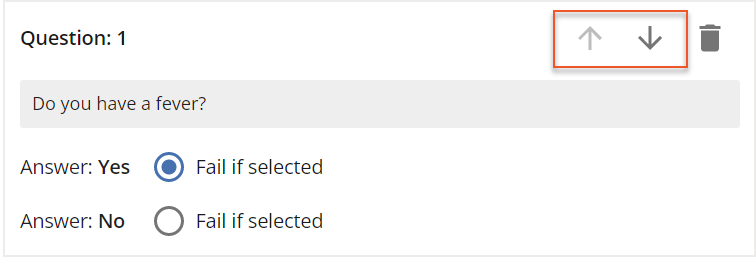
You can use the
arrow icons to change the order of your questions.
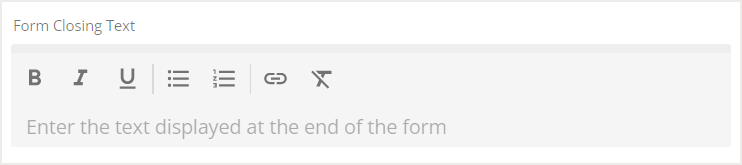
After you’ve entered all your questions, use the
Closing Text field to enter text that will be displayed at the end of the form.
You can then select
Preview Form to see what your form will look like.
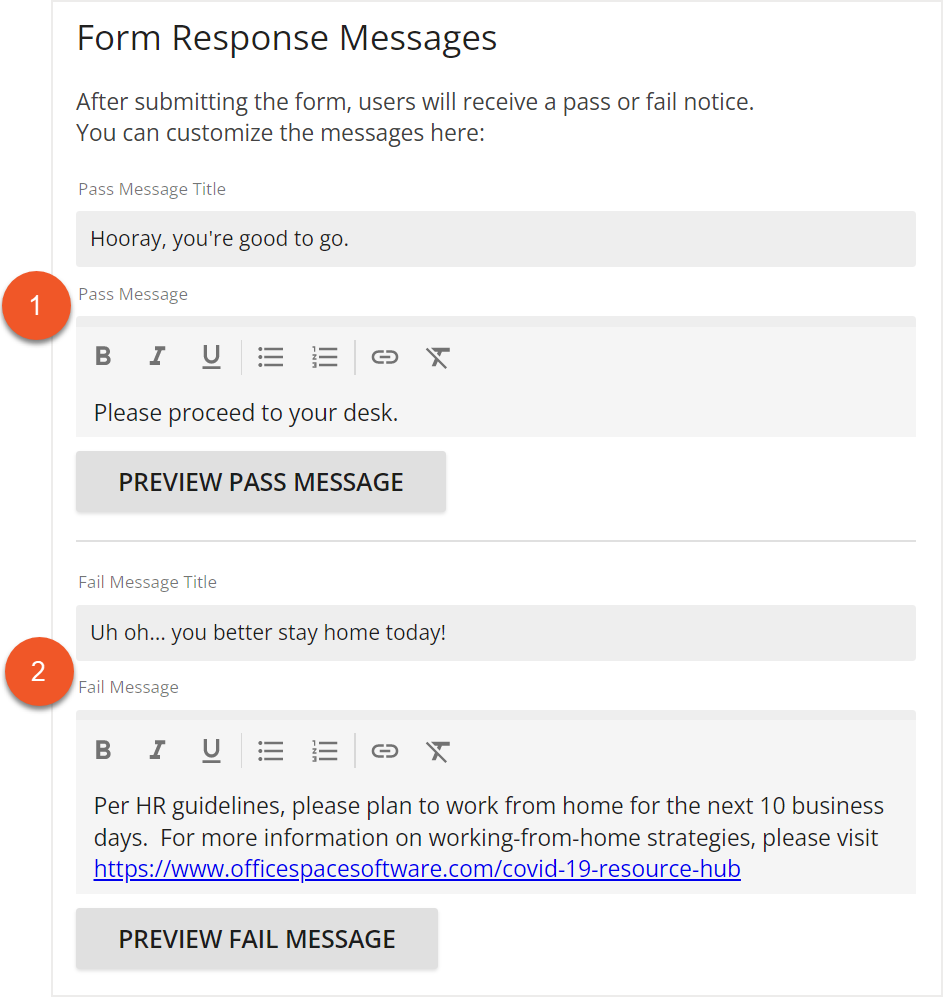
Next, enter the
Pass (1) and
Fail (2) responses you'd like to show to the users who will be completing the form. You are also able to preview your pass and fail messages if you would like.
Select
Create Form to create your new Safeguard form.

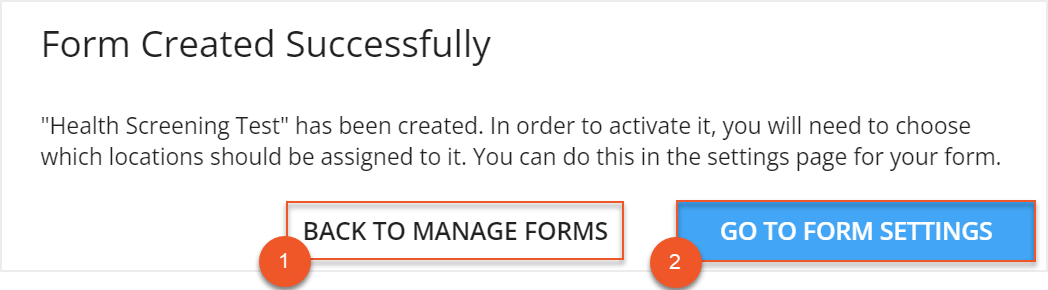
After you create your form, you will receive a pop-up with the options to go
Back to Manage Forms (1) or
Go to Form Settings (2). Select Go to Form Settings to assign the form to a specific site. If you would like to assign the site at a later time, you can choose to go back to Manage Forms.
When you select Go to Form Settings, you are directed to the Edit Safeguard Form Settings screen. Use the
Assigned Sites dropdown to select the sites you would like to assign the new form to.
After you have selected your sites, you are able to make further changes to the form settings. These settings include:
- Desk Booking Restrictions for employees who haven’t passed the Safeguard Form
- Form Reminders for Desk Booking Occupants
- Form Reminders for Occupants of Move Managed Seats
- Email Alerts for failed Safeguard submissions
Select your desired settings and then select
Save Changes to save your form settings.