Please note that your subscription plan determines the specific set of features available to you, which may result in differences between what you see and the images presented in this article. For further details on the features included in your plan, please contact your OfficeSpace Admin.
Assets are equipment or features that are available at desks, and they can be created, assigned, and tracked. Assigning assets to your desks allows your employees to know which equipment is available to them and helps them select the best desk for them when they utilize your workspace.
Creating AssetsAssigning Assets to Individual SeatsAssigning Assets to Multiple Seats
Creating Assets
New assets can be created in
Manage Assets, which is located in Preferences. Assets can be created
individually or created
in bulk.
Creating Individual Assets
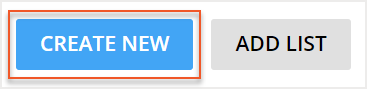
To create an individual asset, select
Create New.
The Creating New Asset screen then opens. Enter the
Asset Name (1) and add a
Description (2), if applicable.
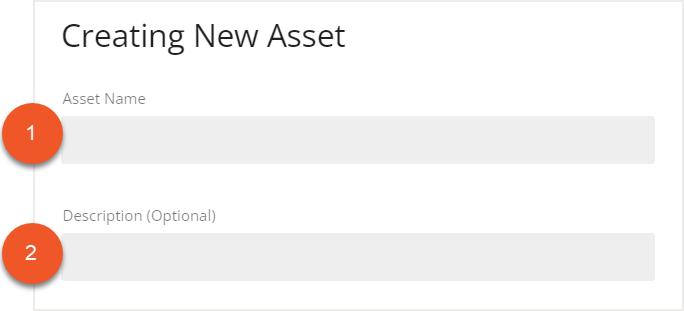
If you would like the asset to be searchable for your bookable desks, select the
This asset is a searchable feature for bookable desks in Visual Directory checkbox.

Then select
Create to create your new asset.

Creating Multiple Assets
To create multiple assets, select
Add List.
The Adding List of Assets screen then opens. You can copy and paste a list of new assets from Excel into this screen. Ensure that the columns in your Excel spreadsheet are in this order:
Name, Description (optional).
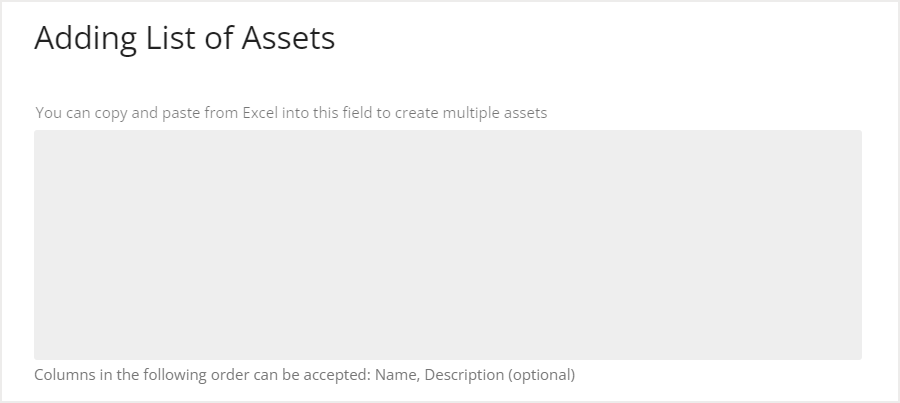
After you have entered your list of assets, select
Add to create your new assets.

Assigning Assets to Individual Seats
After you have created your assets, you can assign them to seats. Individual assets are assigned in
Move Manager.
In Move Manager, select the desired seat on the floor plan to open the info card. In the info card, select the
Seat tab (1), then select
Edit (2).
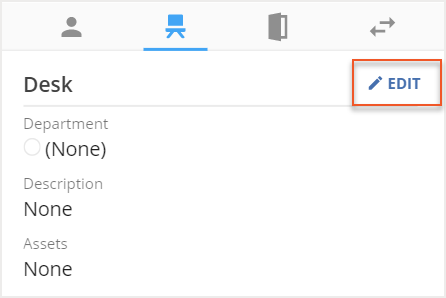
In the Edit Room screen, locate the Assets section and select
Add Assets.
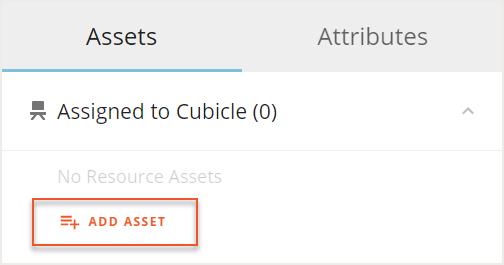
Then
select the asset from the dropdown list.
Then select
Save to save your changes.

Assigning Assets to Multiple Seats
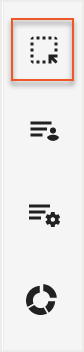
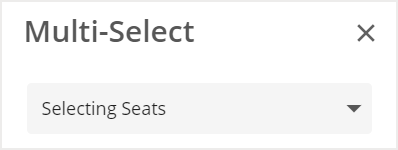
Assets can be assigned to multiple seats using the Multi-Select tool. The Multi-Select tool is located in Move Manager.
In Move Manager, select the
Multi-Select tool from the Action Panel.
Then use the dropdown menu to choose
Selecting Seats.
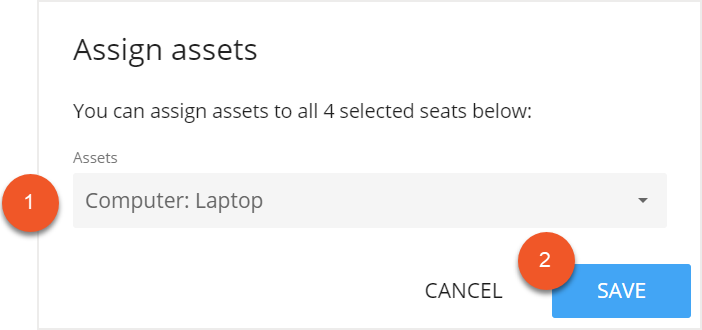
On the floor plan, select the seats. Then, in the Multi-Select tool, expand the Actions dropdown menu and choose Assign Assets from the list.
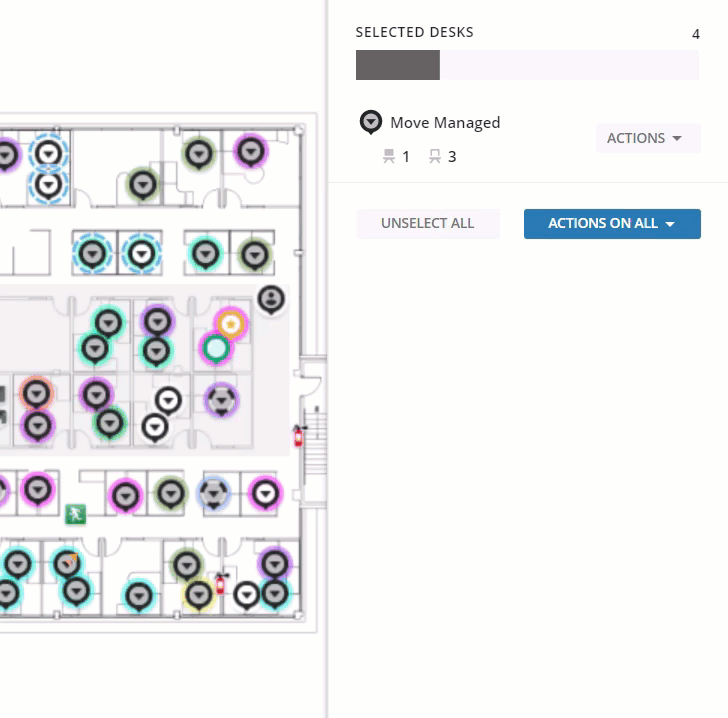
The Assign Assets screen then opens. Select your
desired assets (1) from the list and then select
Save (2).