Please note that your subscription plan determines the specific set of features available to you, which may result in differences between what you see and the images presented in this article. For further details on the features included in your plan, please contact your OfficeSpace Admin.
With Global Room Display Settings, you will be able to manage the settings and configuration of your room displays across your screens and devices. Make changes to the visual display or manage the actions your employees are able to take with your room displays.
Navigating to Global Room Display SettingsMeeting SettingsVisual SettingsUsing Global Room Display SettingsOverriding Global Settings for Individual Room Displays
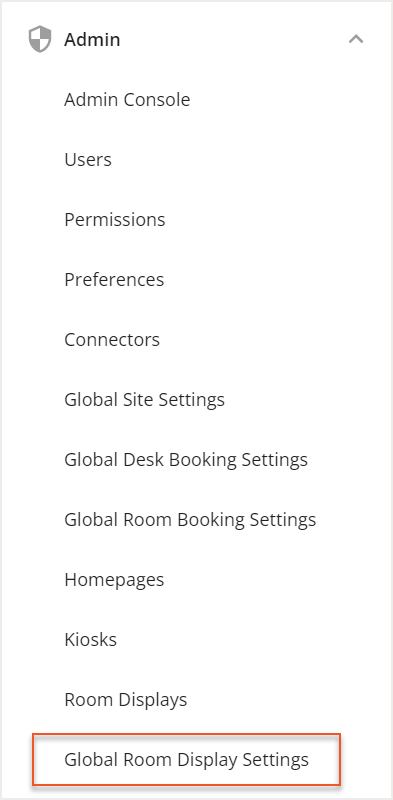
Navigating to Global Room Display Settings
In Visual DirectoryⓇ, select the Hamburger menu and expand the Admin accordion menu. From the Admin menu, select
Global Room Display Settings.
Meeting Settings
The Meeting Settings can be used to set the options available from your room displays. This includes what information will be displayed on your screens and what actions your employees are able to take using the room displays. Using the Meeting Settings, you can decide to:
- Show room display names instead of the room name
- Show or hide meeting titles on the display
- Allow meetings to be booked from the display
- Allow meetings to be extended from the display
- Allow meetings to be ended early from the display
- Allow meetings to be canceled from the display
Note that a meeting title may not be displayed on a room display if the event has been marked as private on the meeting organizer’s calendar.
To adjust the Meeting Settings, select the
checkbox next to the desired setting.

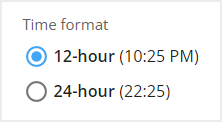
Under Meeting Settings, you are also able to choose whether you would like your room display time format to be a 12-hour clock or a 24-hour clock.
Visual Settings
Visual Settings can be used to change the visual appearance of your room displays. Using these settings, you can make changes to a variety of visual features and align the design of the room displays with your company’s preferences.
Logo UploadBackground Image UploadColor ThemeStatus Colors
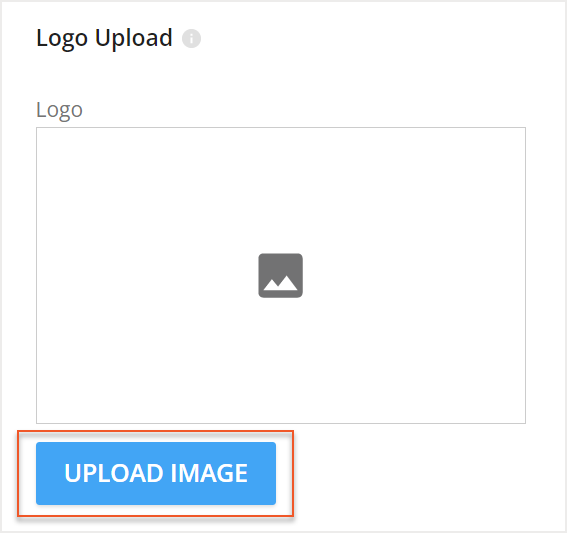
Logo Upload
Should you choose to include your company logo in your room displays, the Logo Upload setting allows you to add a logo or image to the top-left corner of your room displays.
To upload a logo, select
Upload Image. You will be prompted to choose a saved image from your computer or device. Logo files must be an SVG file and cannot exceed a maximum of 10 MB.
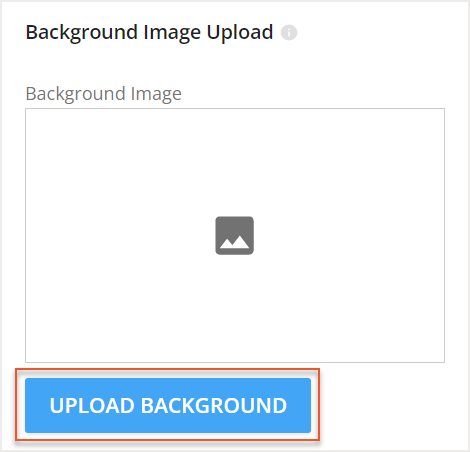
Background Image Upload
The Background Image Upload setting allows you to add a background image to your room displays. To upload a background, select
Upload Background. You will be prompted to choose a saved image from your computer or device. Background image files must be an JPG file and cannot exceed a maximum of 10 MB.
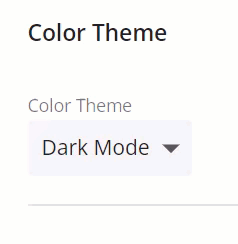
Color Theme
The Color theme can be used to change the theme of your displays. The available themes are Light Mode and Dark Mode. Use the
dropdown to select your choice of theme.
Status Colors
Status Colors help to visually represent the status of your rooms on the display. Using the setting, you are able to determine the status color of
Available rooms (1), rooms that will be
Available Soon (2), and
Reserved rooms (3).

Select the dropdown of the color you want to change. Colors can be selected using the gradient or you can enter a unique color code.
Using Global Room Display Settings
After you have made changes to your Room Display Settings, you can quickly view what your visual changes will look like using
Preview Colors. If you are happy with the changes to both your Meeting Setting and Visual Settings, you can
save your changes.
Preview Colors
In Preview Colors, you can preview the look of your room displays after adjusting the Visual Settings. As you make changes to the Visual Settings, your preview will adjust to match.
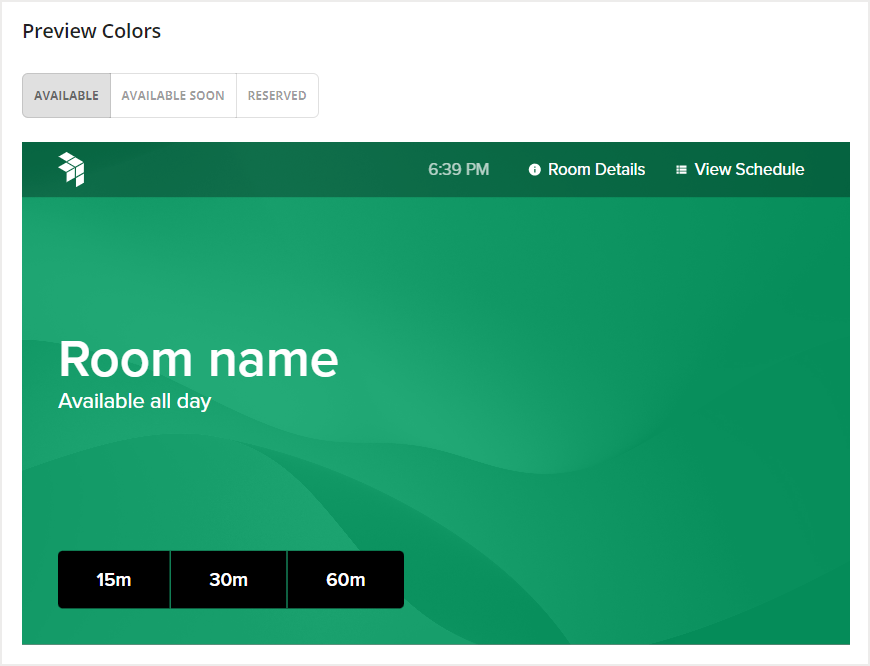
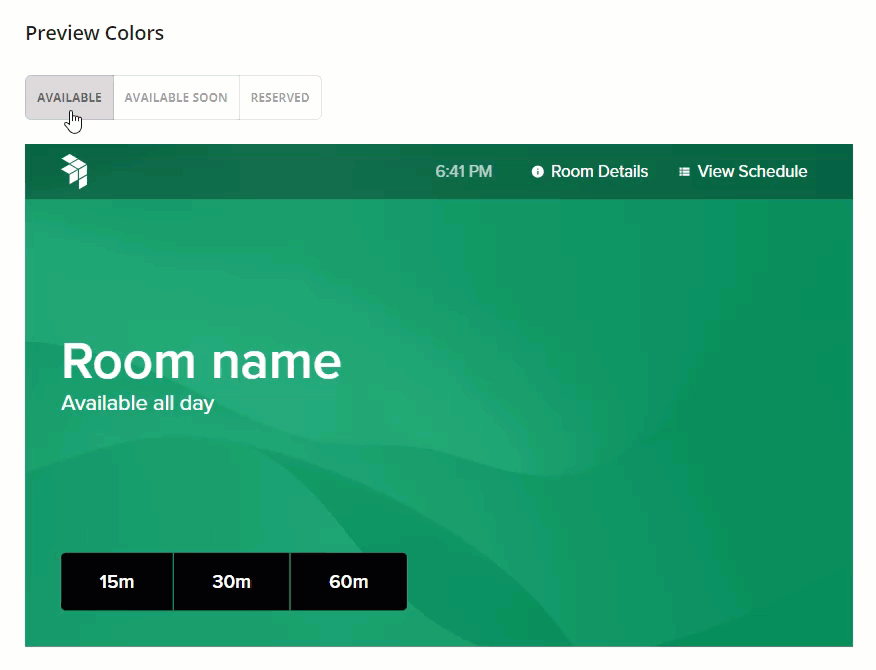
If you want to view your room displays based on the Status Colors, use the three tabs at the top of the preview. You can view the
Available status,
Available Soon status, and the
Reserved status.
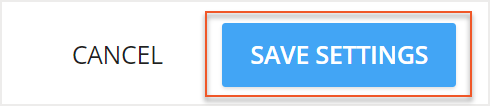
Save Settings
When you are satisfied with your changes to the Meeting Setting and the Visual Settings of your room displays, you will need to save your changes. Select
Save Settings to save.
Overriding Global Settings for Individual Room Displays
You have the ability to override the Global Room Display Settings for individual displays. This option allows you to further customize the look and use of each room display based on your company’s needs.
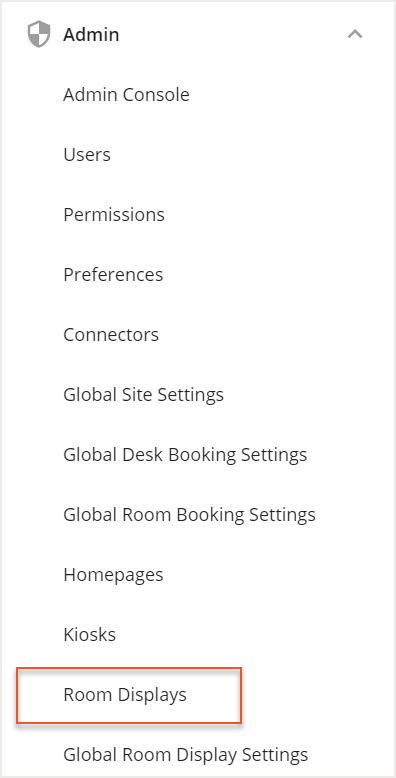
You can make changes to the settings of an individual display in the Manage Room Displays screen. From the Hamburger menu and expand the Admin accordion menu. From the Admin menu, select
Room Displays.
In the Manage Room Displays screen, locate the room display that you want to configure and select the
edit icon.

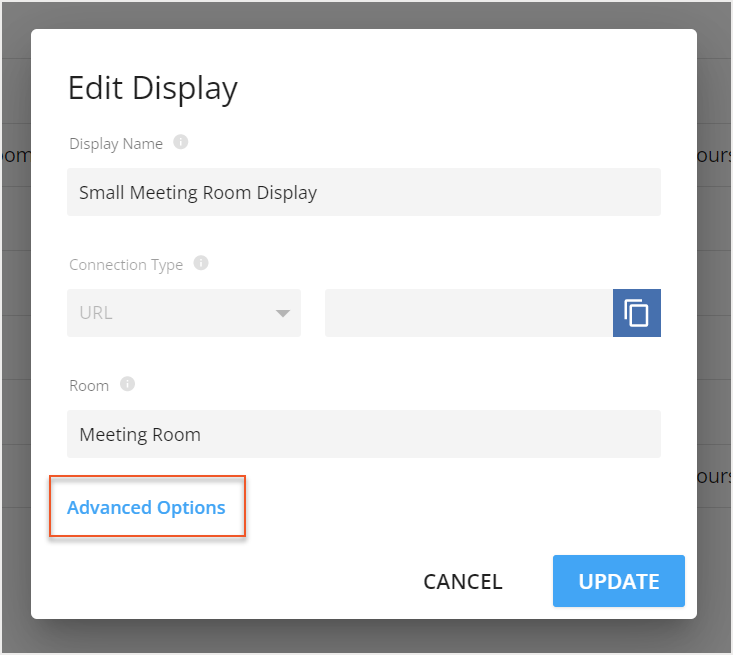
The Edit Display screen then opens. Select
Advanced Options to be redirected to the individual settings for the room display.
The Room Display Settings screen then opens. You are able to make changes to the General Details of your display, as well as override the Global Meeting Settings and some of the Global Visual Settings.
Configuring General DetailsOverriding Meeting SettingsOverriding Visual SettingsPreview ColorsSaving Override Settings
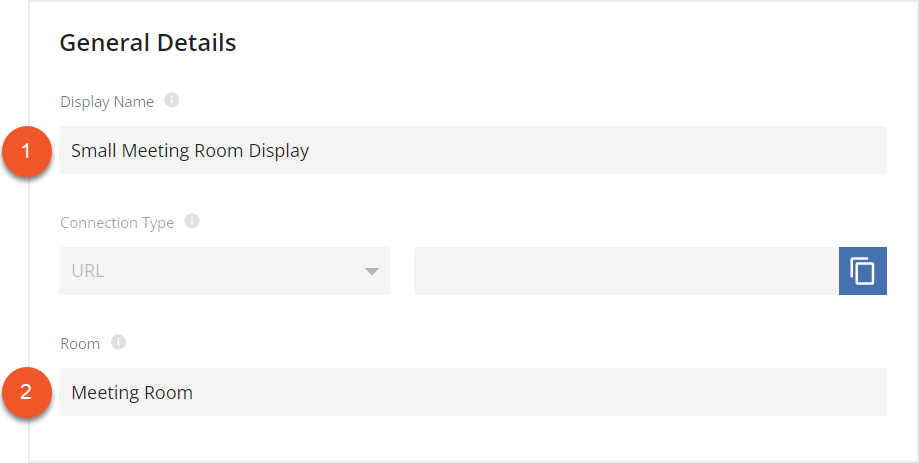
Configuring General Details
In the General Details section, you are able to make changes to the
Display Name (1) and change the
bookable room (2) that the room display is connected to.
Overriding Meeting Settings
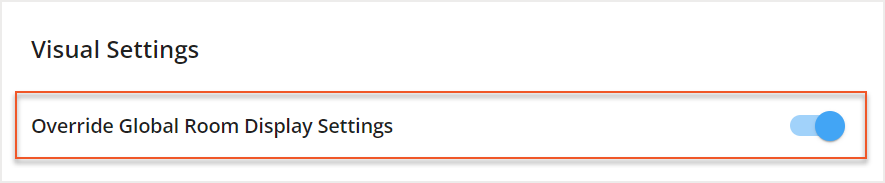
To override the Global Room Display Settings and configure the Meeting Settings for your individual display, toggle the
Override Global Room Display Settings option (1) to On. Then select the
checkbox (2) next to the settings you would like to adjust.
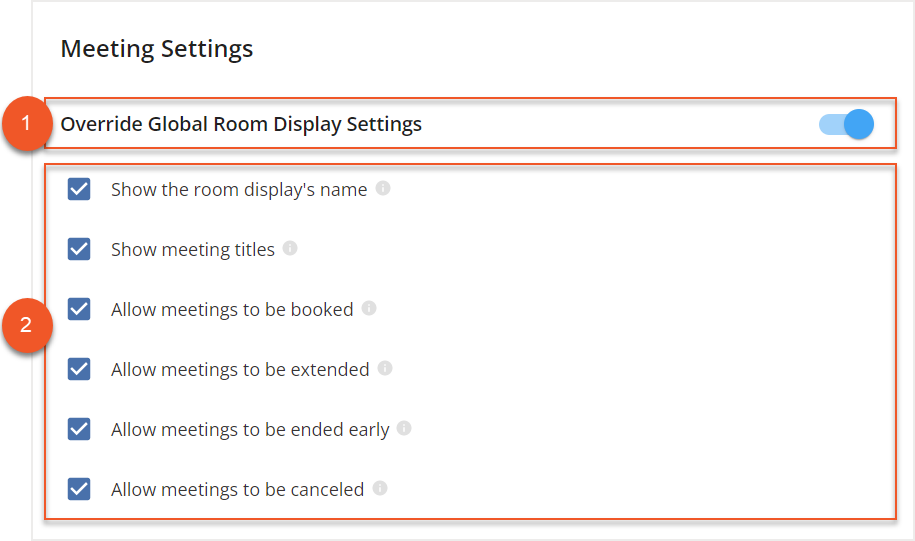
Under the Meeting Settings, you are also able to choose whether you would like to override the global time format of your room display.

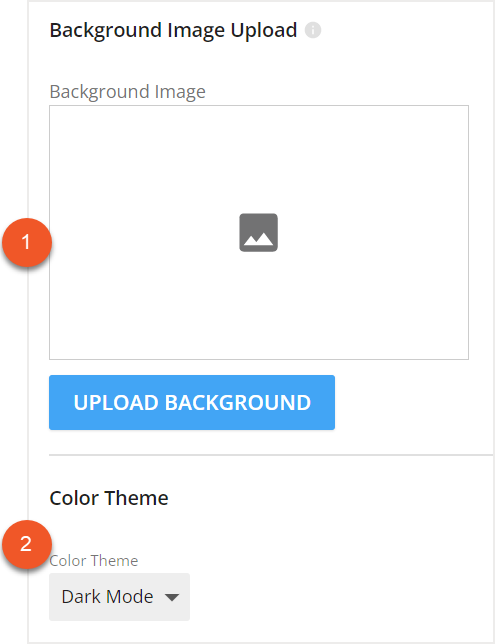
Overriding Visual Settings
To override the Global Room Display Settings and configure the Visual Settings for your individual display, toggle the
Override Global Room Display Settings option to On.
You are only able to override the settings for the
Background Image Upload (1) and the
Color Theme (2).
Preview Colors
In Preview Colors, you can preview the look of your individual room display after overriding the Visual Settings. As you make changes to the Visual Settings, your preview will adjust to match.
If you want to preview the changes made to your room display with the Status Colors, use the three tabs at the top of the preview. You can view the
Available status,
Available Soon status, and the
Reserved status. You are not able to override the status colors selected in the Global Room Display Settings.

Saving Override Settings
When you are satisfied with your changes to the Meeting Setting and the Visual Settings of your room display, you will need to save your changes. Select
Save Settings to save.


