Please note that your subscription plan determines the specific set of features available to you, which may result in differences between what you see and the images presented in this article. For further details on the features included in your plan, please contact your OfficeSpace Admin.
Multi-Select is a tool that you can use to select multiple desks or rooms on your floor plan, which allows you to make changes on a larger scale. Change desk types or departments, assign shifts and assets, update room sizes, and much more. Multi-Select is an essential tool in managing your floor plans, as it can be used to efficiently implement strategies that help your organization in maximizing occupancy and utilization. Multi-Select is found on the Action Panel in Move Manager.
Note that you must have access to Move Manager to be able to use Multi-Select.
Managing Your Desks with Multi-Select
Managing Your Rooms and Spaces with Multi-Select
Managing Your Desks with Multi-Select
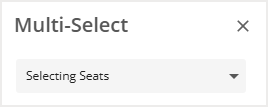
You can use Multi-Select to make changes to multiple desks at once. In the Multi-Select panel, use the dropdown to choose Selecting Seats.
To begin making changes, hold down Shift on your keyboard and select all the desired desks on the floor plan. You can also select an area of the floor plan by holding down Shift on your keyboard, selecting a point, and then dragging your mouse across the floor plan. The selected desks will be highlighted.
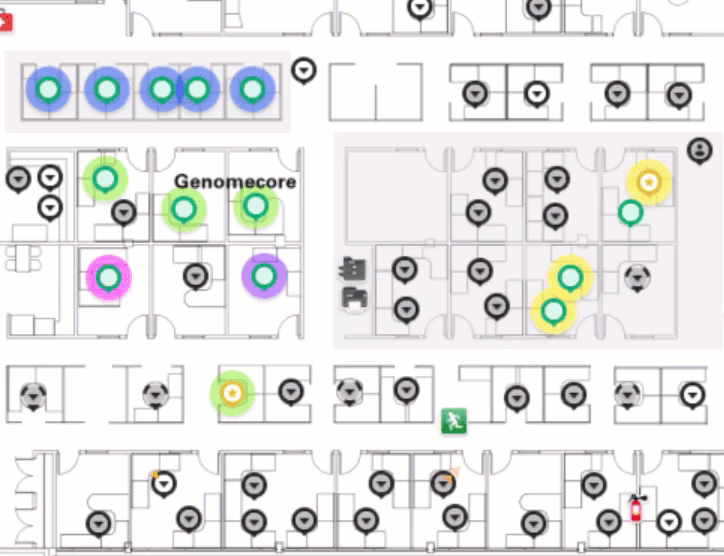
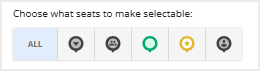
After you have selected your desks, or if you have selected the entire floor plan, you can choose to use the Desk Types filtering tool to highlight only a specific desk type.
As you select desks, you’ll see the number of desks for each selected desk type under the Selected Desks section.
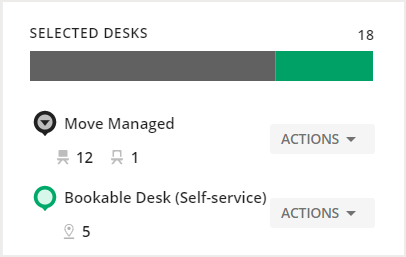
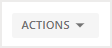
If you want to make changes to just one type of desk, select the Actions dropdown and choose the action from the list.
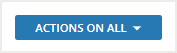
If you want to make changes to all selected desks, select the Actions On All dropdown and choose the action from the list.
The table below provides a list of all of the actions you can take for selected desks.
| Action | Description |
|---|
| Change booking settings | This action allows you to assign multiple desk booking restrictions or enable/disable the check in feature for the selected bookable desks. |
| Change seat assign mode | This action allows you to assign the same desk type to the selected desks. |
| Change department | This action allows you to assign the same department to the selected desks. |
| Change space type | This action allows you to assign the same space type to the selected desks. |
| Change status (active/inactive) | This action allows you to change the status for the selected desks. |
| Change availability (shift) | This action allows you to assign the same shift to the selected desks. |
| Remove availability (shift) | This action allows you to remove the assigned shifts from the selected desks. |
| Change space type | This action allows you to modify the space type that was assigned to the selected desks. |
| Change description | This action allows you to add the same description to the selected desks. |
| Assign assets | This action allows you to assign the same assets to the selected desks. You are able to assign multiple assets at once. |
| Remove all assets | This action will remove all the assigned assets from the selected desks. |
| Change assigned size | This action allows you to assign the same size to all the selected desks. |
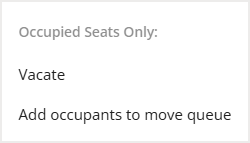
If you are taking actions on move-managed desks only, you will also have the ability to Vacate (1) the occupants from all the selected desks or Add occupants to the move queue (2).
All changes will be automatically saved.
Managing Your Rooms and Spaces with Multi-Select
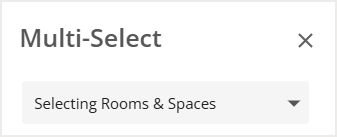
You can use Multi-Select to make changes to multiple rooms simultaneously. In the Multi-Select panel, use the dropdown to choose Selecting Rooms and Spaces.
To begin making changes, hold down Shift on your keyboard and select all the desired rooms on the floor plan. You can also select an area of the floor plan by holding down Shift on your keyboard, selecting a point, and then dragging your mouse across the floor plan. The selected rooms will be highlighted.

After you have chosen your desired rooms, select the Actions On All dropdown and choose an action from the list.

The table below provides a list of all of the actions you can take for selected rooms.
| Action | Description |
|---|
| Change room department | This action allows you to assign the same department to the selected rooms. |
| Change space type | This action allows you to assign the same space type to the selected rooms. |
| Change room description | This action allows you to add the same description to the selected rooms. |
| Change room size (Sq. Ft.) | This action allows you to change the size of the selected rooms. |
| Assign room attributes | This action allows you to assign the same attributes to the selected rooms. |
| Remove all room attributes | This action will remove all the assigned attributes from the selected rooms. |
All changes will be automatically saved.

