Please note that your subscription plan determines the specific set of features available to you, which may result in differences between what you see and the images presented in this article. For further details on the features included in your plan, please contact your OfficeSpace Admin.
Visual DirectoryⓇ preferences allow you to configure various aspects of Visual Directory. Using these settings, you can make changes to the information that displays on your floor plans, helping to improve the efficiency of your organization and assisting your employees in finding what they need. You can manage these settings in Preferences.
Locating Visual Directory Preferences
Managing Employee Homepage
Managing Default View Mode
Locating Visual Directory Preferences
To navigate to Preferences, select the Hamburger menu in the top-right corner of your screen. Expand the Admin accordion menu and then select Preferences.

In Preferences, select the Visual Directory tab at the top to open the Visual Directory preferences screen.

Managing Employee Homepage
System admins can control the visibility and content of the Employee Homepage in your Admin Preferences.
Mark the checkbox next to Enable Employee Homepage to show the Employee Homepage to all Visual Directory users as part of their navigation. If the Employee Homepage is not enabled, users will bypass the homepage and go straight to the Floor Plan view instead.

You can choose to Show Workplace Announcements on Homepage by marking the checkbox. Employees will see a dedicated card on the Employee Homepage displaying Workplace Announcements.

If you choose not to show Workplace Announcements on the Employee Homepage, employees will see upcoming desk and room bookings instead.
Managing Default View Mode
Using View Controls in Visual Directory, you can organize your view of a floor based on the information that's important to you. Visual Directory recalls the view that you've selected in the Color By picker each time that you open your floor plan. If you have the required permissions, you can set the default view for a particular site.
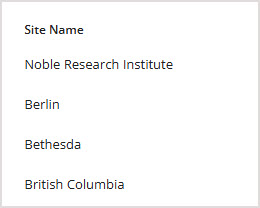
Under the Default View Mode section, locate the site for which you'd like to set a default view under the Site Name column.
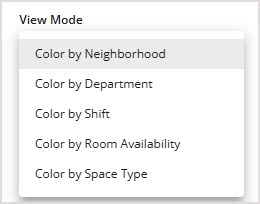
Select the view you'd like to set as the default view in the View Mode picker. A site will only appear in the list if you have permission to set the default view for that site.
Select Save Changes to commit the changes to the default view for all sites.

Remember that a user can select a different view as their personal default, overriding your selection here.

