Please note that your subscription plan determines the specific set of features available to you, which may result in differences between what you see and the images presented in this article. For further details on the features included in your plan, please contact your OfficeSpace Admin.
Using Neighborhoods, your management team can choose to create designated areas for specific purposes on your floor plan. Neighborhoods are managed using the Facilities Editor.
You must be a System Admin, Facility Admin, or Facility Manager to create or manage a Neighborhood.
Creating a Neighborhood
Editing a Neighborhood
Deleting a Neighborhood
Creating a Neighborhood
To create a Neighborhood, expand the Neighborhoods dropdown in the Facilities Editor and then select Create.

You'll be presented with two ways to draw your Neighborhood. The Points option lets you draw each line individually. The Rectangle option lets you draw a rectangle. Choose the option you prefer, then draw the Neighborhood around the seats, rooms, and utilities you’d like to include.

When drawing a Neighborhood, you can now make shapes that overlap or cross existing walls, rooms, or seats. As you draw, the system shows real-time feedback to help you know if your shape can be saved.
If you want your Neighborhood to include multiple separate areas, you can draw a non-contiguous Neighborhood. Use your preferred drawing tool to select or draw more than one shape on the floor plan.
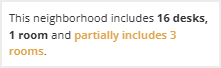
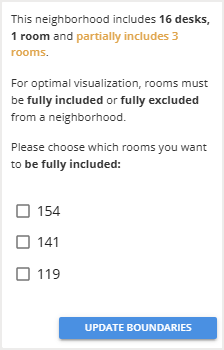
When you finish drawing, look at the box under Facilities Editor. This box gives a summary of what’s inside the area you drew — how many desks and rooms are included, and if any rooms are partially included.
Because rooms need to be either fully in or fully out of the Neighborhood, you’ll be asked to choose which partial rooms to include.
Check the boxes next to the room numbers you want. Select Update Boundaries to confirm your choices.
After you have all the necessary areas selected, select Create.

The Creating Neighborhood screen will then open. Enter the properties for your new Neighborhood. Properties are entered in exactly the same way for both single-area and non-contiguous Neighborhoods. As with single-area Neighborhoods, you can appoint up to five Neighborhood Captains for non-contiguous Neighborhoods. Note that Captains are assigned to the Neighborhood as a whole and not to specific regions.
After entering your desired properties, select Save to create the Neighborhood.

Editing a Neighborhood
Choose the Neighborhood you want to edit by selecting it on the floor plan. Using the icons, choose whether you want to change the Neighborhood settings, redraw parts of it, delete a section, or add a new section.
You’ll see three main buttons during editing:

After you have made your desired changes, select Save.

A modal then pops up, which lets you know if your changes affect any other moves, bookings or items in your floor plan.
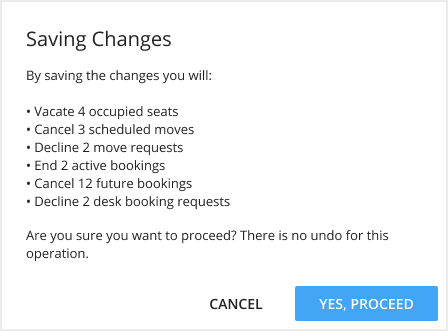
Select Yes, Proceed to confirm your changes.
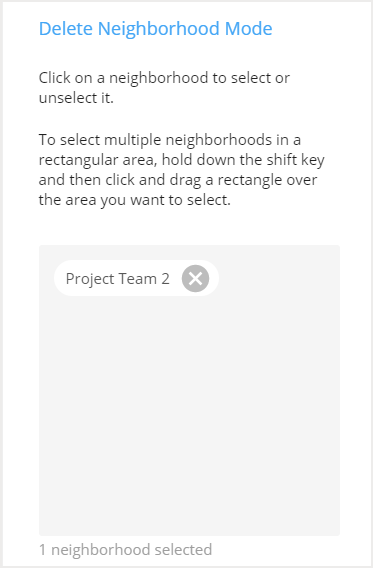
Deleting a Neighborhood
To delete a Neighborhood, navigate to the Facilities Editor. Then expand the Neighborhoods dropdown and select Delete. To delete only a section of the neighborhood, check out Editing a Neighborhood.
Choose the Neighborhood you want to delete by selecting it on the floor plan. You can select multiple Neighborhoods to delete at once. The Neighborhood name will display in the delete box.
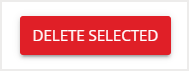
Then select Delete Selected to delete the Neighborhood.