Please note that your subscription plan determines the specific set of features available to you, which may result in differences between what you see and the images presented in this article. For further details on the features included in your plan, please contact your OfficeSpace Admin.
If you've been working on a scenario floor plan and would like to promote it to be your new floor plan, you can do this with Scenario Merge.
For a guided walkthrough and best practices, watch our Streamlining Space Planning with Scenario Merge webinar on the OfficeSpace website.
Finding Scenario Merge
Performing a Scenario Merge
Finding Scenario Merge
In Move Manager, use the floor picker to select your scenario floor. Remember that scenario floors are labeled with a striped background to differentiate them from live floors.

Locate the Action Panel along the right-hand side of the screen.

Select Scenario Merge.

Performing a Scenario Merge
Summary Tab
Moves Log Tab
Facility Changes Tab
Summary Tab
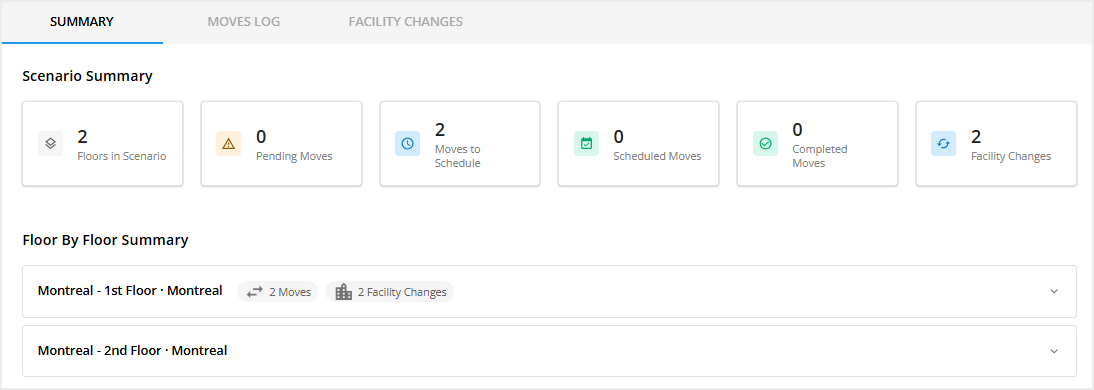
The Summary Tab gives you a high-level preview of what you’re about to publish from your scenario to the live floor. Use it to confirm you’re in the right scenario and reviewing the right managed (live) floor. It also shows an at-a-glance overview of the changes queued for publishing before you review details in the Moves Log and Facility Changes tabs.
Moves Log Tab
The Moves Log Tab helps you review move-related activity that happened in the scenario. Use it to see what moves were created in this scenario before you publish changes to the live floor. If anything looks unexpected, return to your scenario floor to make updates before you continue. You can schedule, edit, complete or cancel moves from this screen.
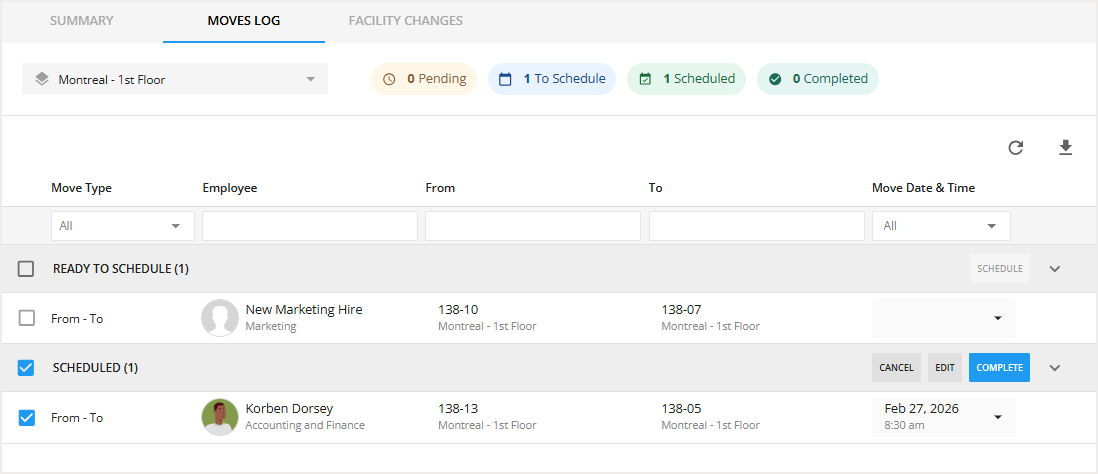
You may download a list of Ready to Schedule and Scheduled moves using the Download button.

Scheduling a Move in Moves Log
Scheduling a move helps you plan when a move should take place, so your team knows what’s happening and when.
Locate the move you want to edit under the Ready to Schedule bar.
Mark the checkbox next to the move you want to schedule.
Please note that you can select more than one move at a time.
Select Schedule.
The Reviewing & Scheduling Draft Move window then pops up.
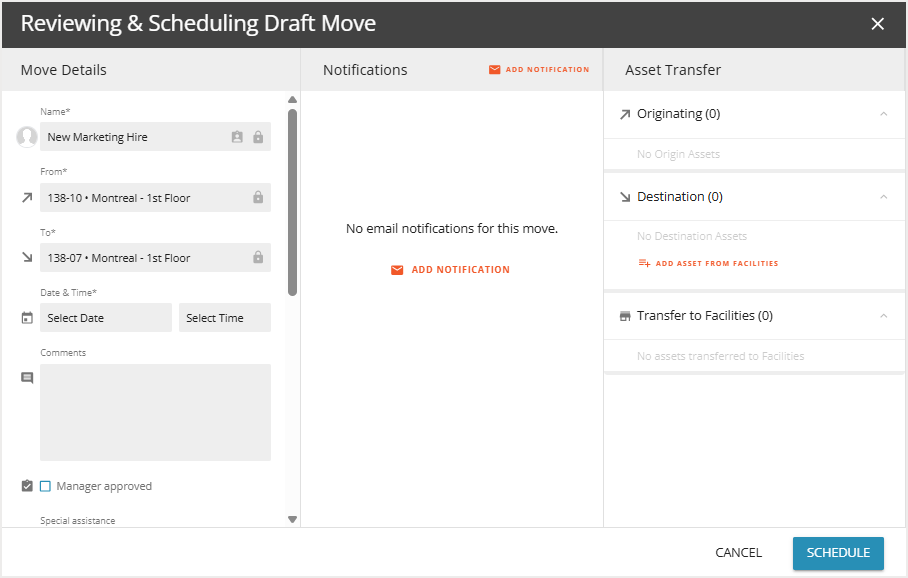
Select the move date and time.
Enter any additional details you may require.
Select Schedule to confirm.
Your move will now show under the Scheduled bar.

Editing a Move in Moves Log
Locate the move you want to edit under the Scheduled bar.
Mark the checkbox next to the move you want to edit.

Please note that you can select more than one move at a time.
Select Edit.

The Editing Move window then opens.
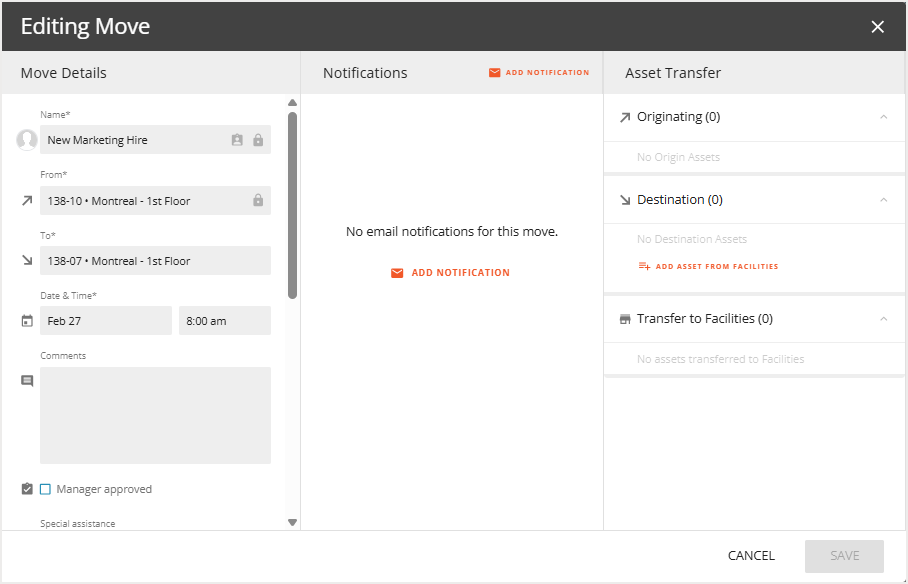
Make any necessary changes.
Select Save.
Completing a Move in Moves Log
Locate the move you want to complete under the Scheduled bar.
Mark the checkbox next to the move you want to complete.

Please note that you can select more than one move at a time.
Select Complete.
The Complete Moves pop-up then appears.

Select Yes to complete the move.
Please note that by completing the move in Scenario Merge, the change will be applied to the live floor plan.
Canceling a Move in Moves Log
Locate the move you want to cancel under the Scheduled bar.
Mark the checkbox next to the move you want to cancel.

Please note that you can select more than one move at a time.
Select Cancel.
The Cancel Move pop-up then appears.
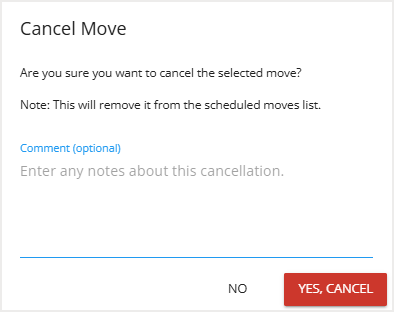
Add any optional comments.
Select Yes, Cancel to confirm.
Please note that canceling a move in Scenario Merge will show the move in the Ready to Schedule tab, but will not eliminate the move.
Facility Changes Tab
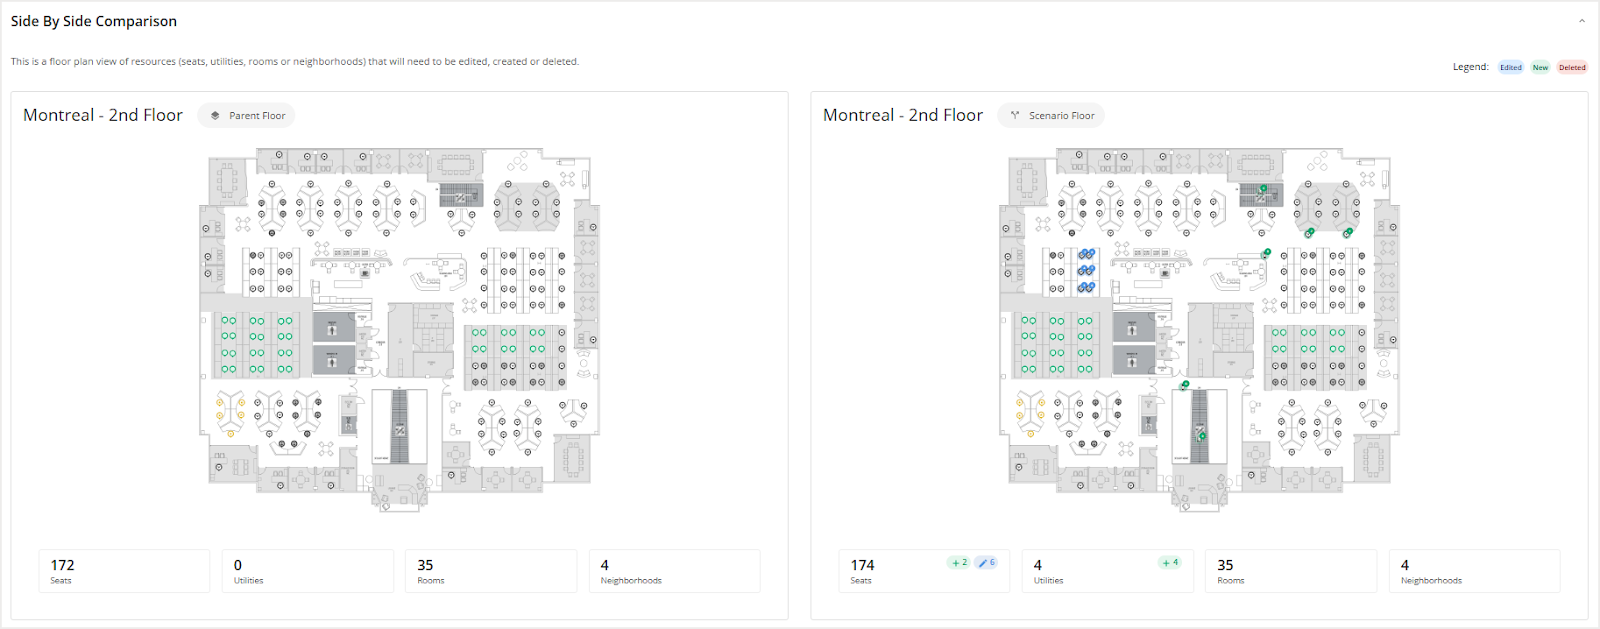
The Facility Changes tab shows the updates to the floor plan in your scenario that can be published to the live floor.
You may download a list of the Facility Changes using the Download button.

Review a Side By Side Comparison of the Parent Floor and the Scenario Floor.
Below the Side By Side Comparison, you will see a list of all your floor plan changes.
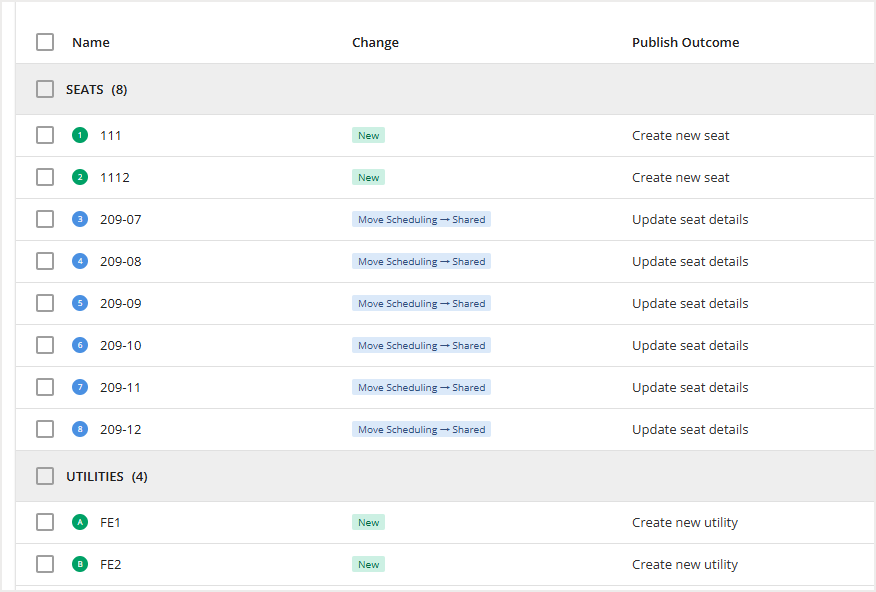
Review the necessary changes.
Select the checkboxes for the items you want to publish.
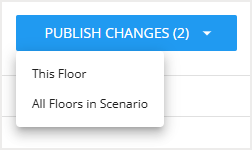
Select Publish Changes.

Choose if you want to publish the changes for This Floor or All Floors in Scenario.
A pop-up then appears.
Confirm by selecting Yes, Publish.


