Please note that your subscription plan determines the specific set of features available to you, which may result in differences between what you see and the images presented in this article. For further details on the features included in your plan, please contact your OfficeSpace Admin.
If you need to customize your
stack plans beyond the options available with the default layout, you can do so using the
Add floors to stack plan function in the Overflow menu. This menu is found to the left of the Allocations Queue.
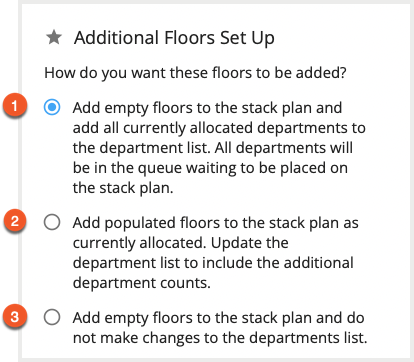
After this option is selected, you'll be presented with the Add floors to stack plan pop-up, allowing you to add additional floors to your current plan. You’ll need to choose an option from the Additional Floors Set Up panel as a starting point.
The
first option (1) adds empty floors to the stack plan, along with any allocated departments for that location to the department list. No seats will be initially allocated to the stack plan.
The
second option (2) adds an already-populated floor to the stack plan and includes any additional counts added to departments on that floor. This option functions in the same way as selecting the Create New button on the main Stack Plans screen.
The
third option (3) adds empty floors to the stack plans, without adding currently allocated departments to the department list.
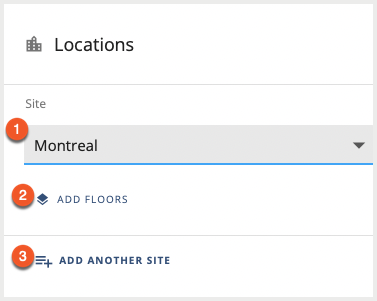
Now that you've decided how you would like floors to be added, select your location from the
site picker (1), then select
Add Floors (2) to add floors. If you would like to add another site to your stack plan, select
Add Another Site (3).

Now that you've selected your site and floors, you can select the capacity to use when creating your stack plan for each floor by using the
capacity radial buttons (1).
To add your floors to your stack plan, select
Add (2).