Please note that your subscription plan determines the specific set of features available to you, which may result in differences between what you see and the images presented in this article. For further details on the features included in your plan, please contact your OfficeSpace Admin.
With scenarios in OfficeSpace, you can plan changes to your floor plan without making those changes to your live floor. If you've already created a scenario, you can edit the scenario by selecting it in the list. After you've created a scenario floor, it's selectable using the floor picker in Move Manager, like any of your live floors.
You can promote a scenario floor to a live floor using Scenario Merge.
Creating a Scenario
Select New Scenario to start creating your scenario.

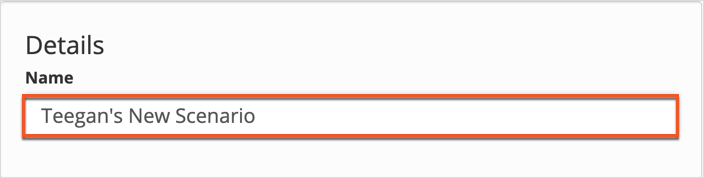
Details Panel
On the New Scenario page, start by entering a Name for your scenario in the Details panel.
Available Floors
Select the checkboxes next to the floors that you'd like to add to your scenario. After you've selected a floor, you'll be able to indicate how you'd like to add the floor to your scenario using the picker next to the floor.

With multiple floors selected, select an option from the Add Selected Floors picker to add all selected floors at the same time.
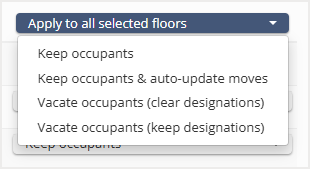
Options when Adding a Floor
| Option | Explanation |
|---|
| Keep Occupants | Add the floor with all of the occupants that are present on the floor. |
| Keep Occupants & Auto-Update Moves | Add the floor with all of the occupants already seated, plus all of the occupants that will be seated at the time the floor will be live. |
| Vacate Occupants (clear designations) | Add the floor without any occupants, but clear the designations for assigned seats. |
| Vacate Occupants (keep designations) | Add the floor without any occupants, but keep the designations for assigned seats. |
Saving Your Scenario
At the bottom of the New Scenario page, select Create Scenario to finish creating your scenario. You can also opt to Cancel the action instead.

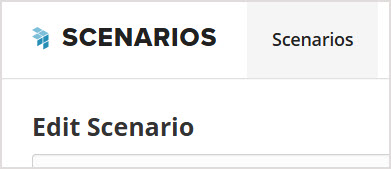
The Edit Scenario screen then opens.
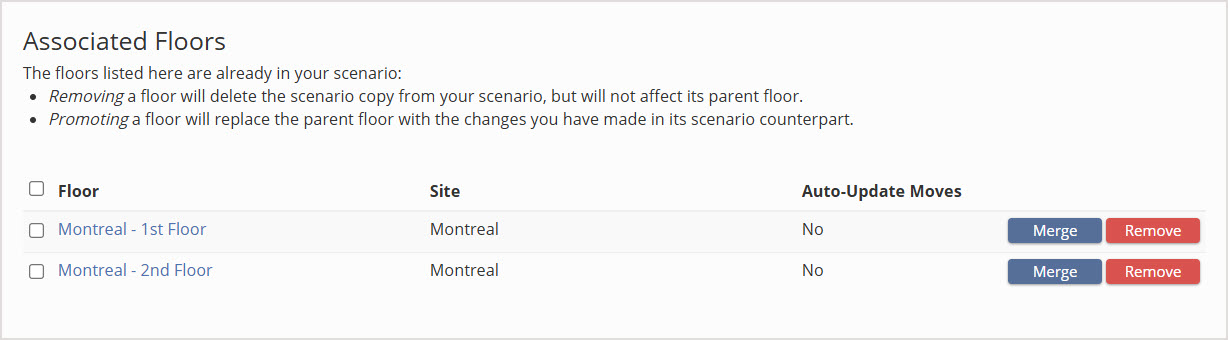
You can then edit your floor plan and schedule moves for the scenario floor in Move Manager by selecting the floor plan name from Associated Floors.
Scenario floor labels have a pinstripe background, which serves as a reminder that you are not working on a live floor.


