Please note that your subscription plan determines the specific set of features available to you, which may result in differences between what you see and the images presented in this article. For further details on the features included in your plan, please contact your OfficeSpace Admin.
If your company uses bookable desks, you can use OfficeSpace to assign shifts to your desks. Shifts allow you to determine when a bookable desk can be used, making it simple for multiple people to utilize the same desk while working at their preferred times.
Finding ShiftsCreating a Shift Applying a Shift Editing an Existing ShiftDeleting an Existing Shift
Finding Shifts
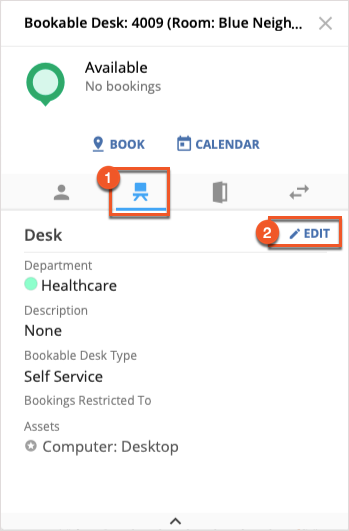
In Move Manager, select any bookable desk on your floor plan. You'll be presented with the
Resource Inspector for that desk.
Select
Desk tab (1) to access the detailed configuration for the desk, then select
Edit (2) to see the Resource Editor.
In the middle column of the Resource Editor, you'll find the
booking restrictions section. Shifts are managed here.
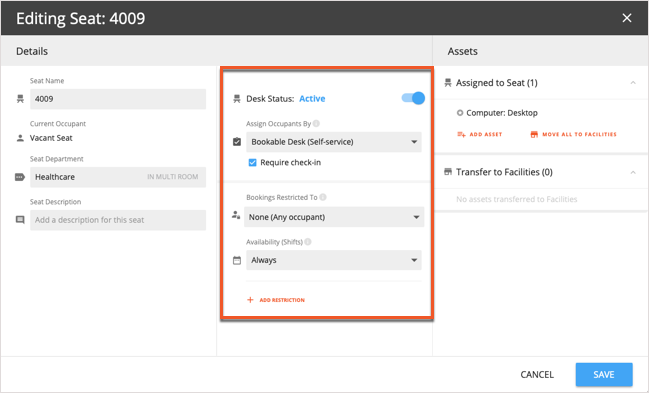
The
desk status toggle (1) activates the desk for usage. The desk must be active in order to create and manage shifts.
Shifts are applied in conjunction with a desk booking restriction to customize how a desk can be utilized. The desk booking restriction determines who is able to book a desk and the shift determines when they are able to book a desk.
The
Booking Restricted To field (2) can be used to apply a desk booking restriction. To apply a shift, the
Availability (Shifts) field (3) is used. You can also select
Add Restriction (4) to apply additional restrictions and shifts.

Creating a Shift
It is recommended that you start by creating all of your shifts, before creating any restrictions or assigning any desks to shifts. Once you've created all of your shifts, it's much easier to see what restrictions are required in order to make them work.
To create a new shift, expand the Availability (Shifts) field and select
Manage Shifts.
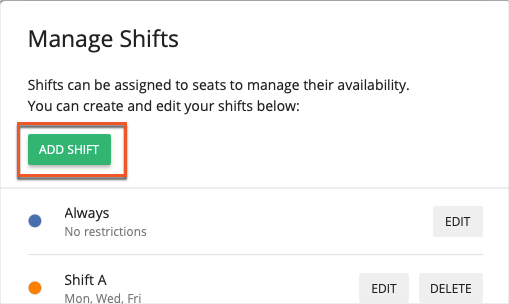
In the Manage Shifts screen, select
Add Shift.
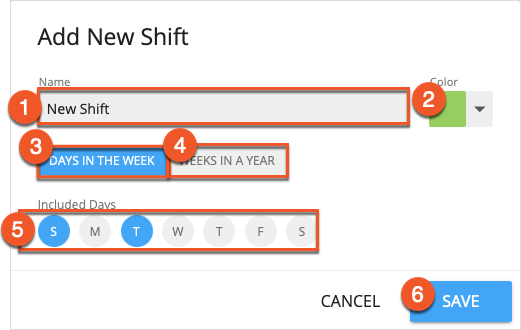
The Add New Shift screen then opens. Enter a name for the new shift in the
Name field (1), and select a color for the shift using the
Color field (2). Using the period toggles, select whether you'd like the shift to recur based on the
day of the week (3) or the
week of the year (4).
Using the
Included Days field (5), select the corresponding to the day(s) of the week or week(s) of the year for which you'd like the shift to recur, and then select
Save (6) to finish creating your shift.
Applying a Shift
After you have created a shift, you can apply it to a bookable desk using the Resource Editor. Expand the
Availability field and select the desired shift from the list.

If you would like to assign additional shifts to the desk, select the
Add Restriction button.

Then select
Save to save your changes.

Applying Shifts and Desk Booking Restrictions
Shifts can be applied in conjunction with a desk booking restriction to determine not only when a desk can be used, but who can utilize the desk at those times. To learn more about desk booking restrictions, check out the
Managing Desk Booking Restrictions article.
If you are planning to restrict desks to shifts for only part of the week, then it is recommended that you create shifts without restrictions for the other days. Anyone can then utilize these desks when they are available.
You can use the Booking Restricted To field to apply a restriction. You can restrict who can book a desk by three different criteria:
- Occupants assigned to the bookable desk
- Users matching the desk department
- Customized restrictions determined by employee field
For example, you can make sure that people are able to book their desk on days when they are in the office, without making it unavailable on the days when they are away. It's possible to add up to seven restrictions per desk.
In the Booking Restricted To field, select
Only assigned occupants.
In the
Search by name or email field, search for the people you would like to assign to your new restriction. You can search for a user by name or email address. Select them to add them to the restriction. You will need to complete this process for each desk that you wish to apply a restriction to. It's possible to add up to 10 people to a restriction.
Now that you've created your restriction for your desk, select the desired shift using the
Availability (Shifts) field to apply it to the desk.
If you want to apply additional restrictions and shifts to the desk, select the
Add Restriction button.

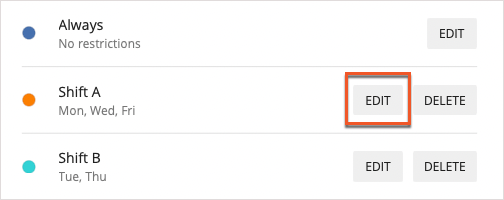
Editing an Existing Shift
To edit an existing shift, expand the
Availability (Shifts) field and select
Manage Shifts.
Select
Edit next to any of the shifts to open the Edit Shift screen.
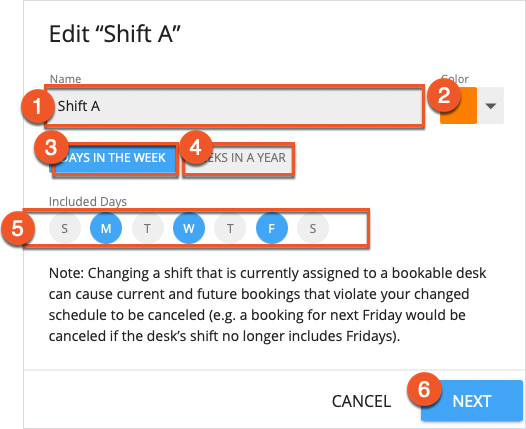
Using the Edit Shift screen, you can change the name or color with the
Name field (1) and
Color picker (2), respectively. Using the period toggles, you can set the recurrence period of the shift to
days in the week (3) or
weeks in a year (4), and the
Included Days or Weeks (5), depending on what period you've selected.
When you've finished making changes to the shift, select
Next (6) to be presented with the Save Changes screen.
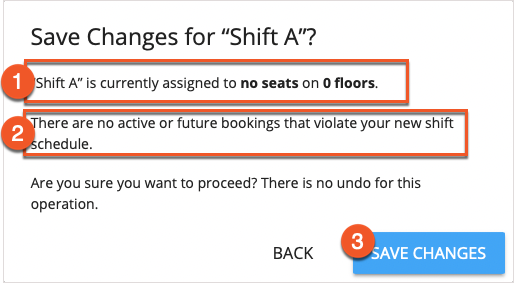
The Save Changes screen will let you know
how many desks will be impacted (1) by the change, and on
how many floors (1). You will also be informed if there are any
upcoming bookings (2) that will violate the updated shift schedule.
If you are satisfied with the changes, select
Save Changes (3).
Deleting an Existing Shift
To delete an existing shift, expand the
Availability (Shifts) field and select
Manage Shifts.
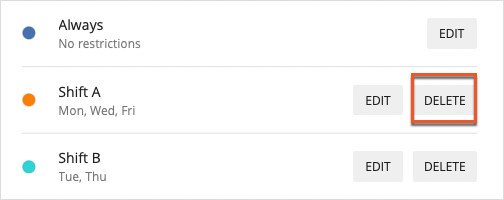
Select
Delete next to any of the shifts you've created.
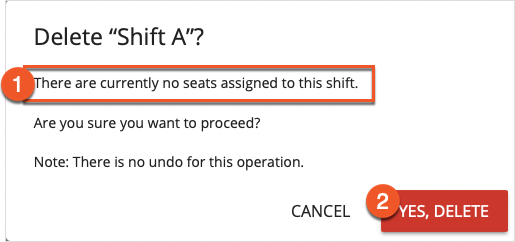
You'll be presented with a pop-up asking you to confirm that you wish to delete this shift. The pop-up displays the
number of desks assigned to the shift (1). Select
Yes, Delete (2) to confirm the deletion of your Shift.