Please note that your subscription plan determines the specific set of features available to you, which may result in differences between what you see and the images presented in this article. For further details on the features included in your plan, please contact your OfficeSpace Admin.
Email channels allow you to create a custom email address that is tied to Request Manager. Creating email channels allows your organization to give its employees more flexibility and options in the way requests are submitted. Users can quickly and easily submit new requests by simply sending an email. Email channels are managed under the settings in
Request Manager.
Creating Email ChannelsEditing Email ChannelsDeleting Email Channels
Creating Email Channels
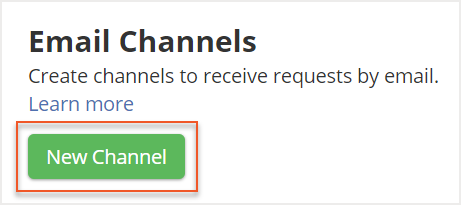
To create a new email channel, select
New Channel.
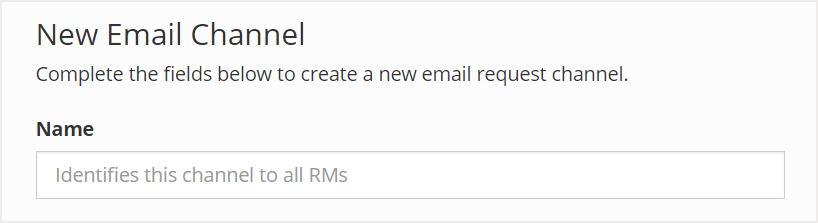
Enter a
Name for the email channel that will identify the channel to all your Request Managers.
Then, you can create the email by entering a unique and valid username, the part of the email address that comes before the @ symbol, in the
Email field. We recommend that the username be simple and clear so it is easier for your user to remember and use. The domain of the email address will be automatically applied using the domain of your OfficeSpace system.

Next, you can use the
Accept Rule field to determine what emails will be accepted by your email channel. You can choose to accept emails from all domains or to only accept emails from specific domains that you can enter. If you choose to accept only from specific domains, emails from other domains will be rejected and returned with an error message.

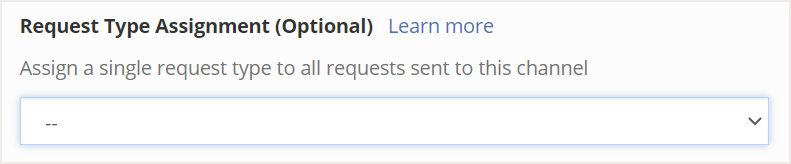
You can also use the
Request Type Assignment field to choose a request type to automatically assign to all emails in the channel. Note that only request types without a required location can be assigned.
Then select
Create Email Channel to save the channel.
Editing Email Channels
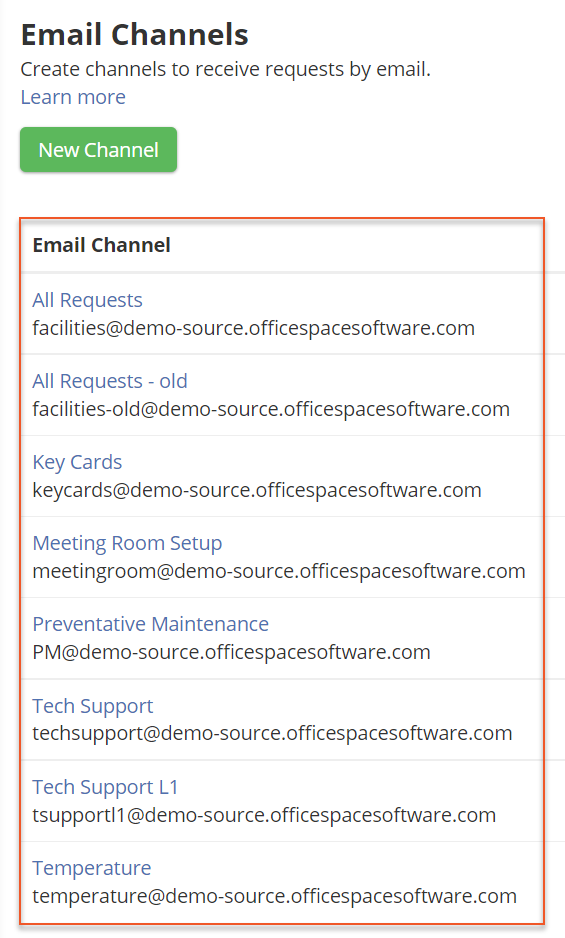
To edit an email channel, select it from the list on the
Email Channels screen.

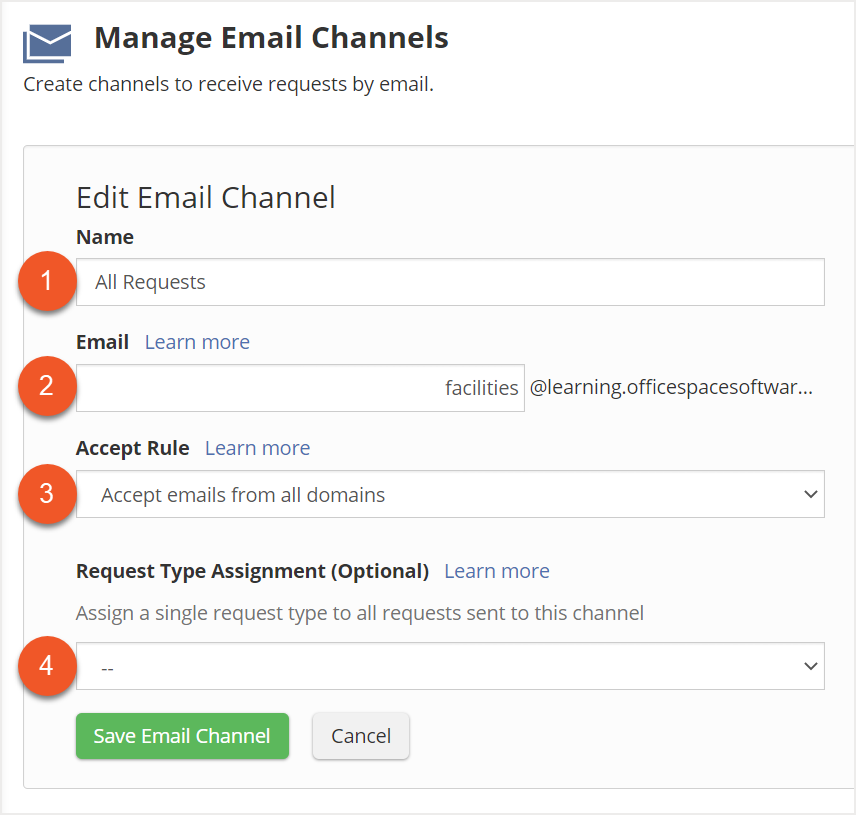
You will be directed to the Manage Email Channel screen. Using the fields, enter your desired changes to the
Name (1),
Email (2), the
Accept Rule (3), or the
Request Type Assignment (4).
Then select
Save Email Channel to save your changes.
Deleting Email Channels
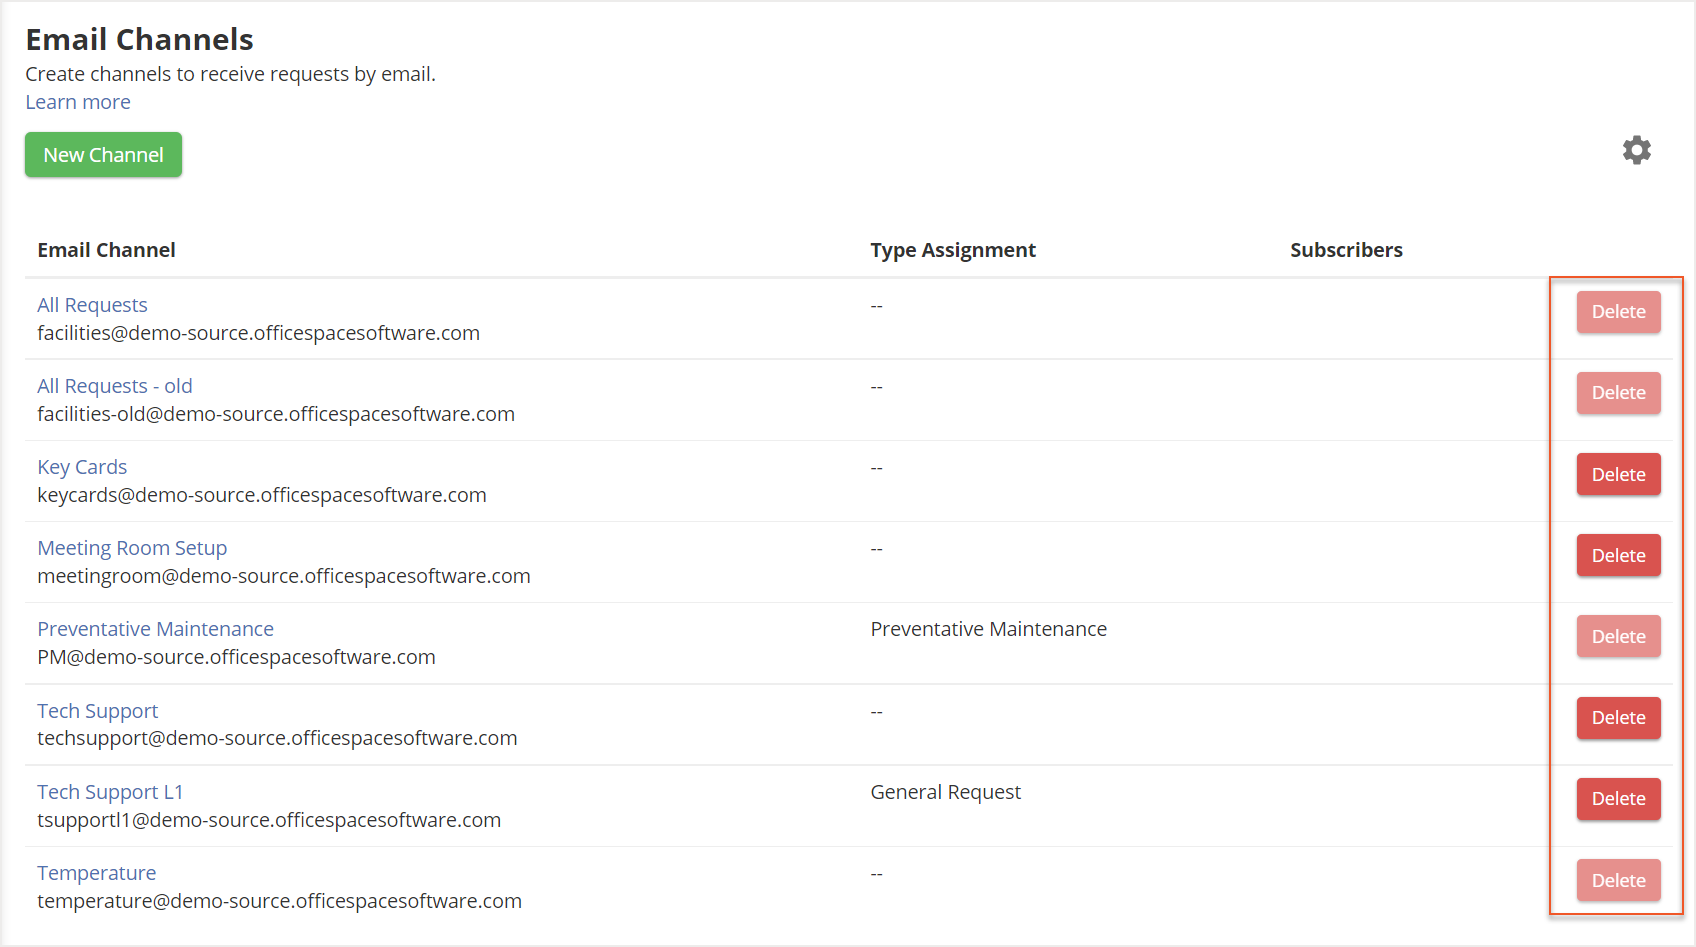
To delete an email channel, locate it from the list on the
Email Channels screen.
Then select
Delete. If there are active requests that have been created using an email channel, you will not be able to delete the email channel.
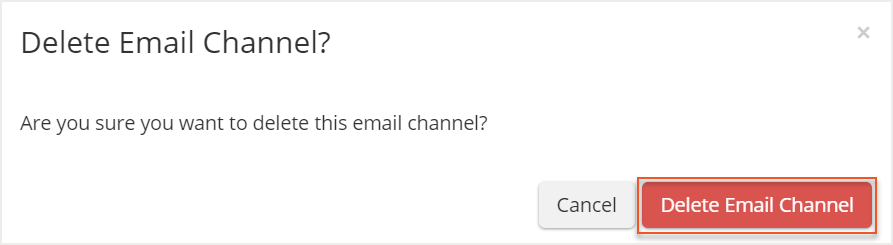
A confirmation pop-up will appear. Select
Delete Email Channel to confirm the action.