Please note that your subscription plan determines the specific set of features available to you, which may result in differences between what you see and the images presented in this article. For further details on the features included in your plan, please contact your OfficeSpace Admin.
If you'd like to manage the leasing information of your organization's real estate, you can do so from
Facilities.
Finding FacilitiesOverviewManaging a Current or Expired LeaseAdding a LeaseDeleting a Lease
Finding Facilities
You can access
Facilities using the Hamburger menu.

In Facilities, select
Leases from the navigation bar to be taken to the Manage Leases screen.

Overview
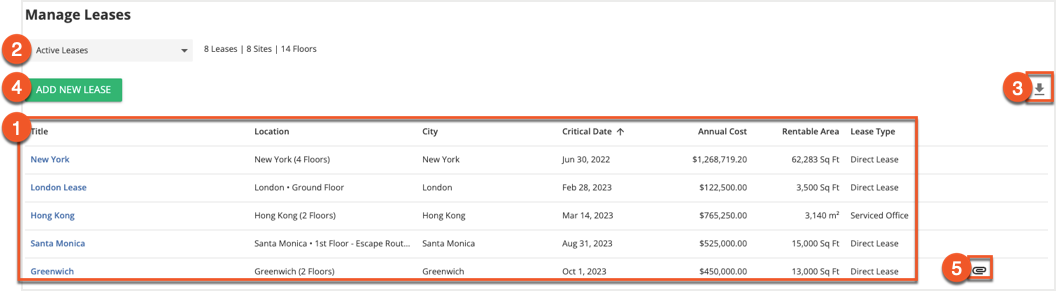
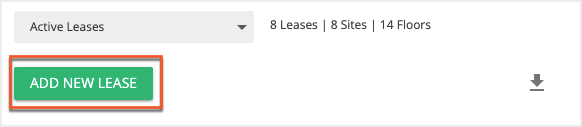
The Manage Leases screen displays an overview of the
information available about your facilities (1), including the title and location as documented by OfficeSpace, the city, the next critical date, the annual cost, the rentable area (in Sq. Ft or m²), and the lease's type.
While the default view shows your Active Leases, you can use the
picker menu (2) to choose to view Expired Leases or All Leases instead.
Selecting the
download icon (3) exports the current list of leases as a CSV file.
If you would like to manage an active or expired lease, select it from the list. To add a new lease, select
Add New Lease (4). An
Attachment icon (5) appears next to any entry that contains an
attachment.
Managing a Current or Expired Lease
Selecting a lease from the list brings up the Edit/View Lease screen. This screen is divided into several panels:
Lease Details,
Lease Cost,
Associated Site & Floors,
Critical Dates, and
Attachments.
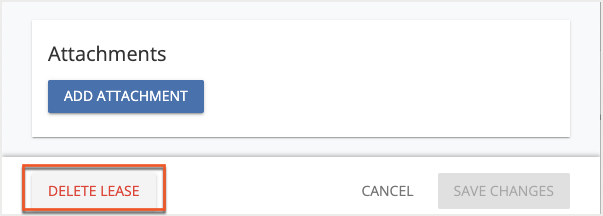
At the bottom of the screen,
Delete Lease (1) can be used to
delete a particular lease. Remember that you must select
Save Changes (2) to save any modifications made to a particular lease.

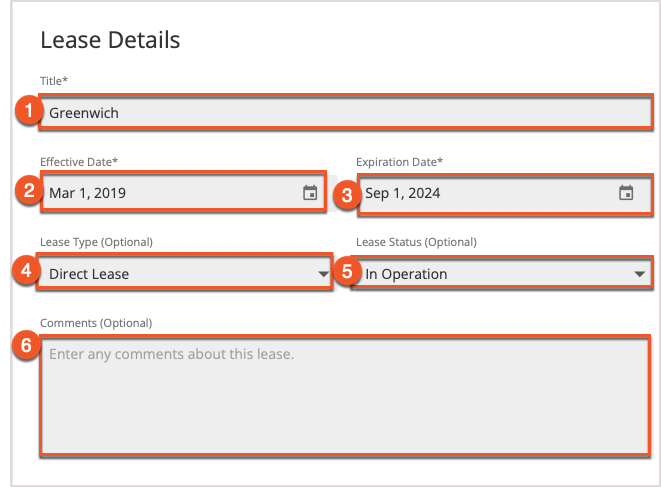
Lease Details
This panel contains all of the identifying information about your lease, including the title in OfficeSpace, effective and expiration dates, and more. The
title field (1) should contain the name of the location as described by the lease. The
Effective Date (2) and
Expiration Date (3) pickers are used to select the date that the lease begins and ends, respectively.
Optional information such as
Lease Type (4) and
Lease Status (5) can be added using their respective pickers.
Finally, using the
Comments field (6), you can enter in additional notes that you have about the lease.
Lease Cost
The Lease Cost panel allows you to view and edit information pertaining to the cost of your lease. The value in the
Annualized Lease Cost field (1) represents the total annual lease for the property. Use the
Currency picker (2) to choose the currency in which you'd like to manage your lease.
It is important to note that this picker does not convert the value in the Annualized Lease Cost field from one currency to another, but instead simply appends the symbol of that currency to the value present in the field.
The
rent increase period details (3) display relevant information related to upcoming rent increases, including the dates over which the increase will take place, the total annualized lease cost with the increase applied, the total amount of the increase, and the percentage of the increase. You can choose to
modify these details by selecting
Edit (4), or delete an upcoming increase by selecting
Delete (5).
To add a future rent increase, select
Add Rent Increase (6).

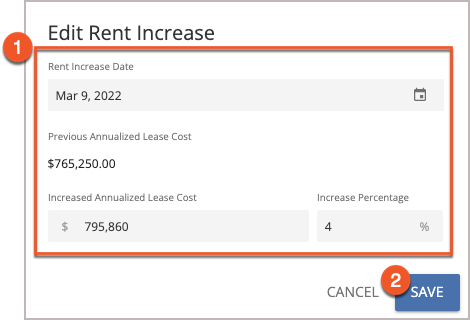
Edit/Add Rent Increase Pop-Up
Using the
fields (1) in the Edit Rent Increase pop-up, you can change the rent increase date, the total annualized cost of the lease, or the percentage by which the lease will increase. The Previous Annualized Lease Cost is also displayed as a reference.
Note that if you change either the Increase Percentage field or the Increased Annualized Lease Cost field, the other field changes automatically to reflect the new value.
To commit your changes, select
Save (2). Note that if you are adding a new rent increase, "Add" will be used in place of "Save".
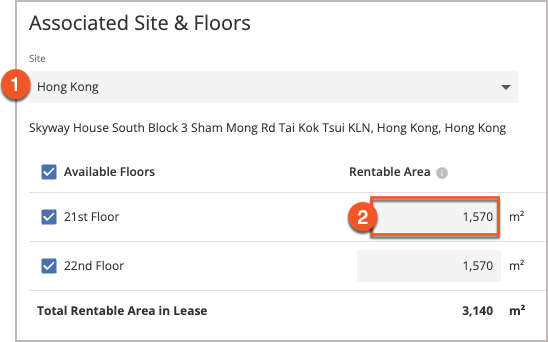
Associated Site & Floors
The Associated Site & Floors panel allows you to use the
site picker (1) to select which site is covered by a particular lease. If only certain floors are covered, you can select individual floors using the checkbox next to the floor.
You can also change the amount of rentable area on each floor using the
Rentable Area field (2).
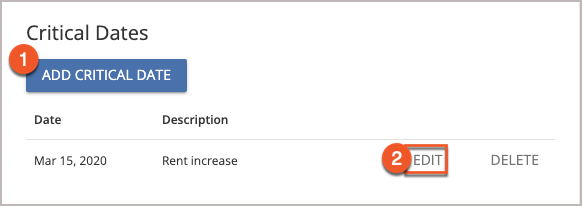
Critical Dates
The Critical Dates panel allows you to keep track of important dates pertaining to the lease, along with notes explaining their importance. To add a critical date, select
Add Critical Date (1). To edit an existing critical date, select
Edit (2). Either action will bring up the
Edit/Add Critical Date pop-up.
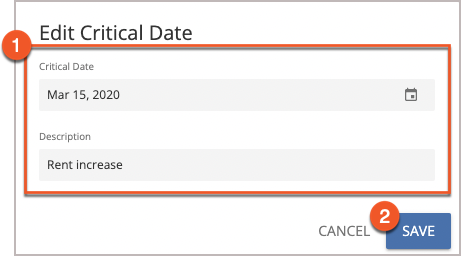
Edit/Add Critical Date Pop-Up
To add or modify a critical date, use
fields (1) to enter in a date and a description for the date. If you're changing the critical date, select
Save (2) when completed.
If you're adding a new critical date, the fields will be the same, but "Add” will be used in place of "Save". Select this button to create a new entry.
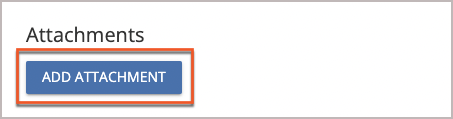
Attachments
Using the Attachments panel, you can attach any other files or documents that are relevant to the lease. Just select Add Attachment and select the file when prompted. Note that attachments cannot exceed 25 MB in size and that it is not possible to add more than one attachment at a time.
Adding a Lease
If you'd like to add a new lease, you can begin the process by selecting
Add a New Lease on the Manage Leases screen to view the New Lease screen.
When creating your lease you'll need to provide information on the
Lease Details,
Lease Cost, the
Associated Site & Floors, and
Critical Dates, You can also add any necessary
attachments.
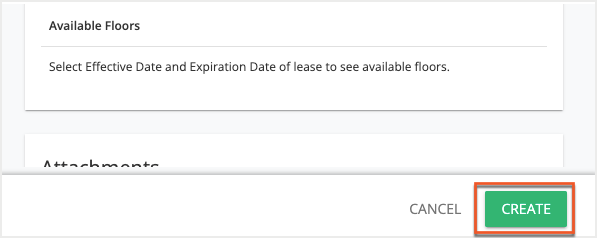
After you've finished entering in the information required for your lease, select
Create at the bottom of the page to save your changes and create the new lease.
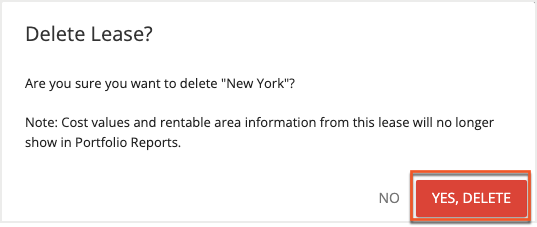
Deleting a Lease
By selecting
Delete Lease at the bottom of the Edit/View Lease screen for a particular lease, you can delete it.
After Delete Lease has been selected, you'll be presented with a pop-up, asking you to confirm that you would like to delete the lease. Select
Yes, Delete to confirm your choice and delete the lease.