Please note that your subscription plan determines the specific set of features available to you, which may result in differences between what you see and the images presented in this article. For further details on the features included in your plan, please contact your OfficeSpace Admin.
Smart Queues are an essential tool in managing your seating assignments. You can use the queues to ensure that all your employees have been assigned a desk and help you locate under utilized space. The Smart Queues are located in
Move Manager.
Locating Smart QueuesNew HiresSeated but Inactive
Locating Smart Queues
To open the queues, select the
Smart Queues icon on the Action Panel.
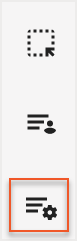
The Smart Queues panel opens.

New Hires
If your company uses
directory synchronization, OfficeSpace will automatically pull your new employee information into the New Hires queue when an employee is added to your HR directory software. Using this queue, your management team will always know when new employees need a desk, making it easy to assign them a desk.
The New Hires queue displays a list of all new employees. You can use the
filtering tools at the top to locate specific employees or to group the list by different criteria.
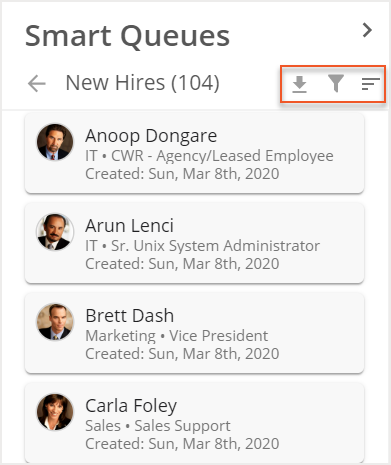
Each
new hire card displays details about a new employee, including their name and when their record was created in OfficeSpace. A new hire card may also show an employee’s department and position, if the information was included in their employee record.
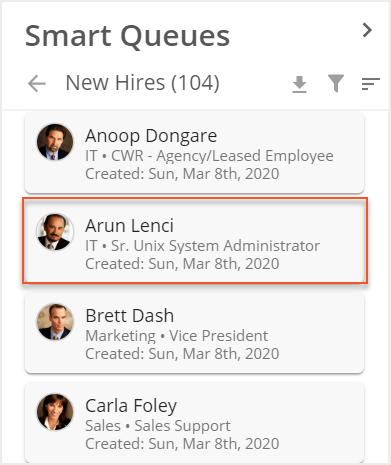
To seat a new employee at a desk,
select and drag the new hire card from the list to the desired desk.
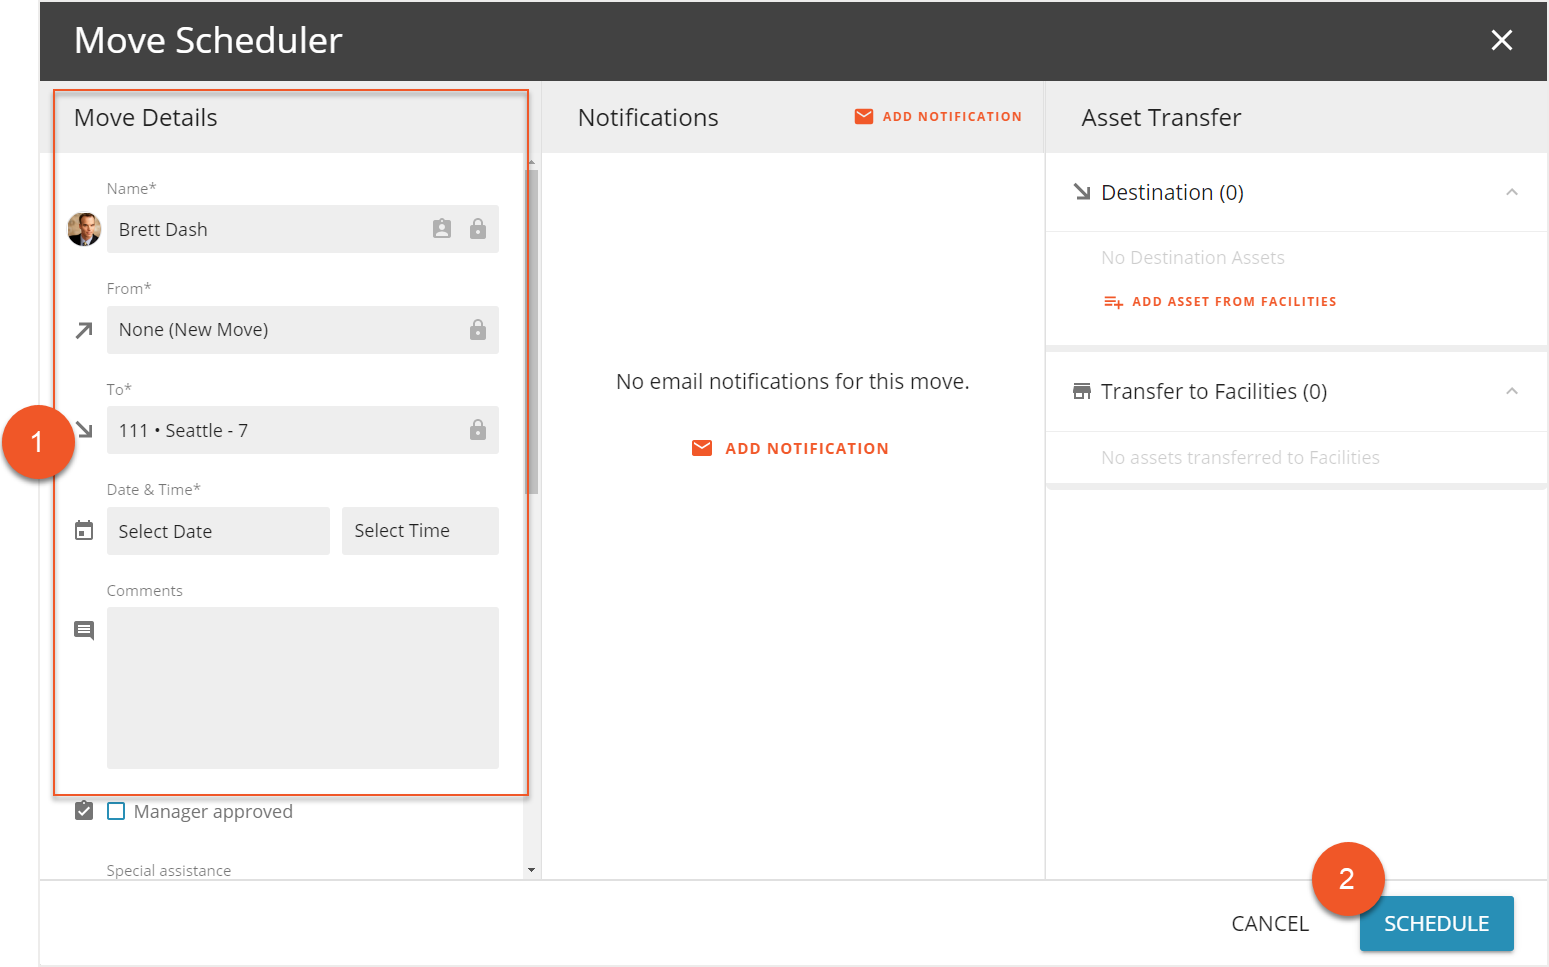
The Move Scheduler then opens. Enter the
details (1) of the move and then select
Schedule (2).
Seated but Inactive
When someone leaves your company, their record in OfficeSpace isn’t deleted. The terminated employee record simply changes from Active to Inactive. If an employee has desks assigned to them at the time of their departure, they will not be automatically vacated from these seats. Use the Seated but Inactive queue to locate any inactive users and remove them from assigned desks, if necessary. For a more detailed look at seated but inactive users, you can use the
Inactive People Assignments report.
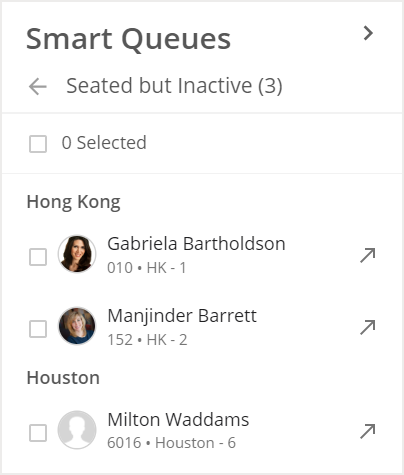
The Seated but Inactive queue displays a list of all seated but inactive users, organized by site.
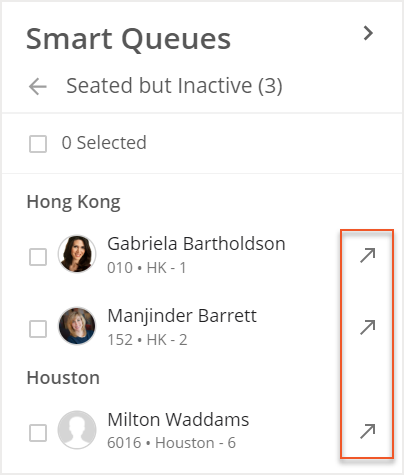
To vacate an individual user from a desk, select the
Vacate icon next to the user.
To vacate multiple users at the same time, select the
checkboxes (1) next to each user and then select
Vacate Selected (2).


