Please note that your subscription plan determines the specific set of features available to you, which may result in differences between what you see and the images presented in this article. For further details on the features included in your plan, please contact your OfficeSpace Admin.
Assets are equipment or features that are available at desks, and they can be created, assigned, and tracked. Assigning assets to your desks allows your employees to know which equipment is available to them and helps them select the best desk for them when they utilize your workspace. You have the ability to create your own custom assets to cover everything from laptops to a sit/stand desk. Assets are managed in Preferences.
Locating Manage AssetsManaging Your AssetsView Your Assets on the Floor Plan
Locating Manage Assets
To navigate to Preferences, select the Hamburger menu in the top-right corner of your screen. Expand the Admin accordion menu and then select
Preferences.
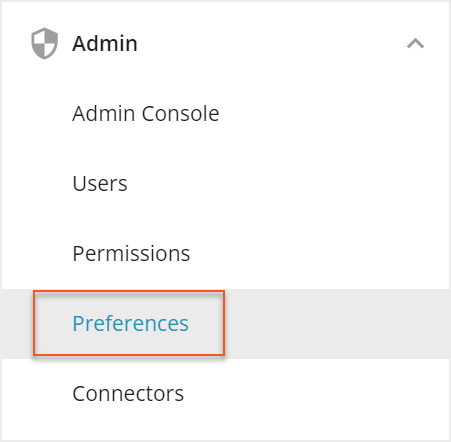
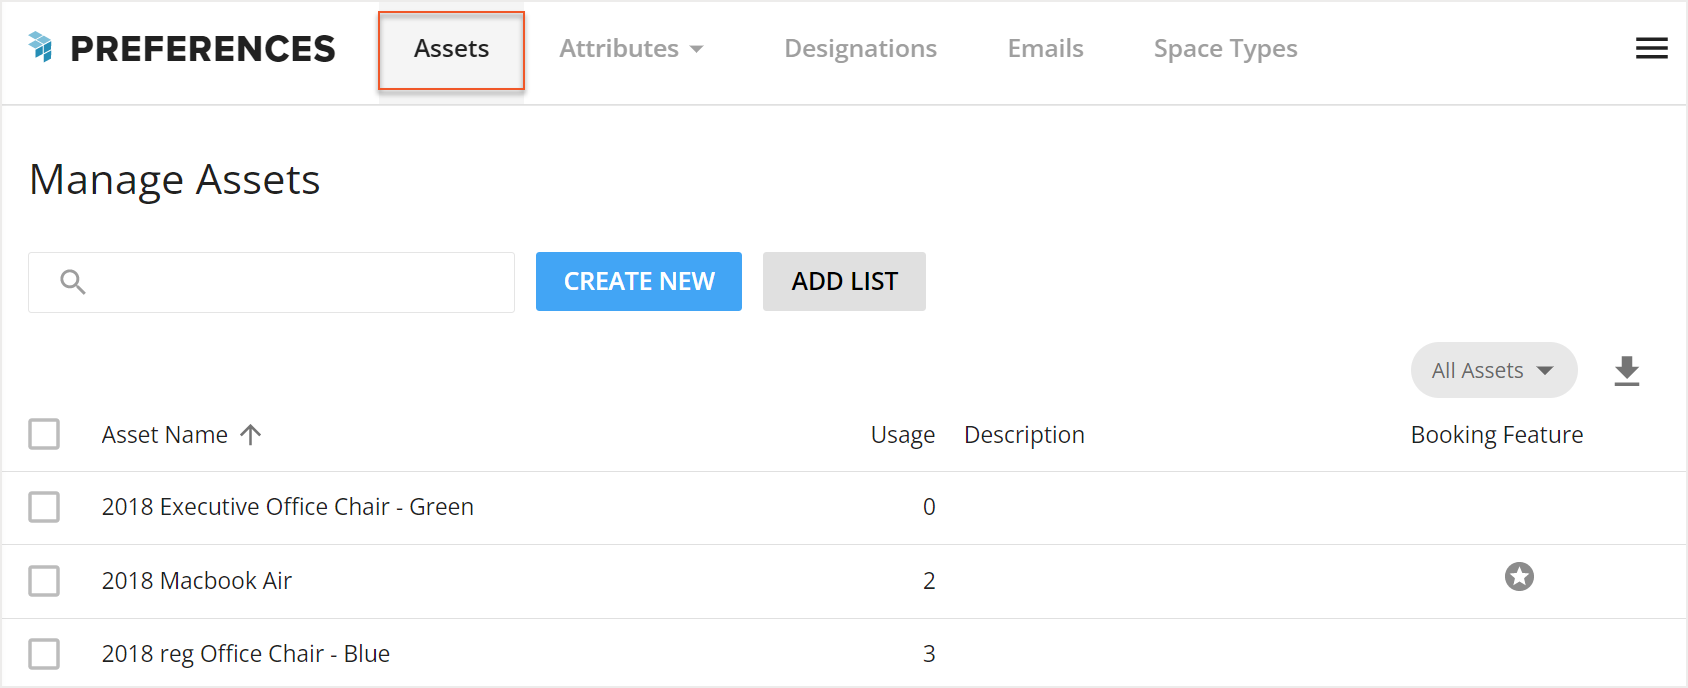
In Preferences, select the
Assets tab at the top to open the Manage Assets screen.
Managing Your Assets
Your company can create and define as many custom assets as you need. You are able to create new assets one at a time, or you can conveniently add a list of assets directly from Excel. Assets can then be assigned to desks, allowing you to track and report on their metrics. To learn more about creating and assigning assets, check out the
Creating and Assigning Assets article.
Metrics involving assets can be tracked in the Insights Hub. You can use the data to view the available assets across your various sites and floors. Check out the
Workplace Reports article for more information on the data you can collect from assets.
View Your Assets on the Floor Plan
After assigning assets to your desks, you are able to view the asset designations on your floor plans.
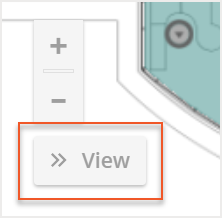
In Move Manager, you can view the assets assigned on each floor. Here you can also color your floor plans by asset and then have the ability to filter the view by each asset. Select
View at the bottom left of the screen.
At the top, select
Color by Asset.
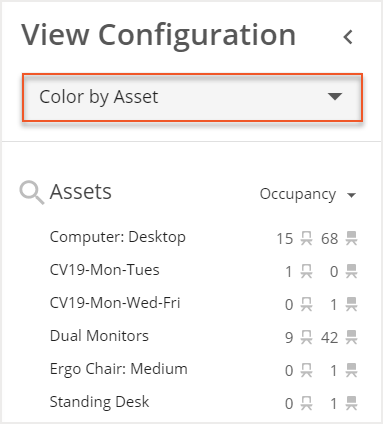
Select one or more assets from the list to show their color-coded locations on screen.
If you select the
dropdown menu at the top right of the legend, you can choose to view various metrics about each asset, including the Counts, Occupancy, and whether or not they are assigned to Free Address or Bookable desks.